

We’re curious about your concoctions, creative entrées and kitchen successes. Plus we need a few ideas for us to make too.
Send us a photo of your masterpiece. Recipes are welcome too. Email pennypower@pennypowerads.com

Click Ad To Enlarge

Serves 8
Ingredients:
Mini Grilled Cheese and Chutney Sandwiches
Serves 8
12 slices white sandwich bread
12 ounces fontina or Gruyère, thinly sliced
1 cup fruit chutney (such as cranberry, fig or mango)
2 tablespoons unsalted butter
Mini Grilled Cheese & Chutney Sandwiches
Grilled cheese may be a staple of many children’s diets, but with the substitution of different cheeses for the traditional cheddar or American and the inclusion of other ingredients, grilled cheese can enjoy a gourmet, adult makeover.
While it is certainly possible to enjoy grilled cheese on its own, the meal is made even better when paired with a favorite soup. Enjoy these two recipes for the perfect soup and sandwich combination, courtesy of “Real Simple: Dinner Tonight Done!” (Time Home Entertainment) by the Real Simple Kitchens.
Instructions:
Form six sandwiches with the bread, fontina, and chutney.
In two batches, melt the butter in a large skillet over medium heat and cook the sandwiches until the bread is golden and the fontina has melted, 2 to 3 minutes per side. Cut each sandwich into quarters before serving.
French Onion Soup
Serves 8
6 tablespoons unsalted butter
4 pounds onions (about 6 medium), thinly sliced
Kosher salt and black pepper
1 cup dry white wine
2 cups low-sodium beef broth
8 1/2-inch thick slices country bread, halved crosswise if necessary to fit serving bowls
1/2 pound Gruyère or Swiss cheese, grated (2 cups)
1 tablespoon fresh thyme leaves
Heat the butter in a large pot or Dutch oven over medium-high heat. Add the onions, 1 1/4 teaspoons salt, and 1/4 teaspoon pepper, and cook, covered, stirring occasionally, until tender, 12 to 15 minutes. Reduce heat to medium and cook, uncovered, stirring occasionally, until the onions are golden brown, 50 to 60 minutes.
Add the wine to the pot and cook until slightly reduced, about 2 minutes. Add the broth and 6 cups water and bring to a boil. Reduce heat and simmer for 15 minutes.
Meanwhile, heat broiler. Place the bread on a broiler-proof baking sheet and broil until golden brown and crisp, 1 to 2 minutes per side. Sprinkle with the Gruyère and broil until melted, 1 to 2 minutes.
Top the soup with the toasts and sprinkle with the thyme before serving.
Serves 8
Ingredients:
3 pounds 95 percent lean ground beef
1 cup chopped onion
3 cloves garlic, minced
1 1/4 cups ketchup
1 cup chopped red bell pepper
1/4 cup plus 1 tablespoon Worcestershire sauce
1/4 cup packed dark brown sugar
3 tablespoons prepared mustard
3 tablespoons vinegar
2 teaspoons chili powder
Toasted hamburger buns
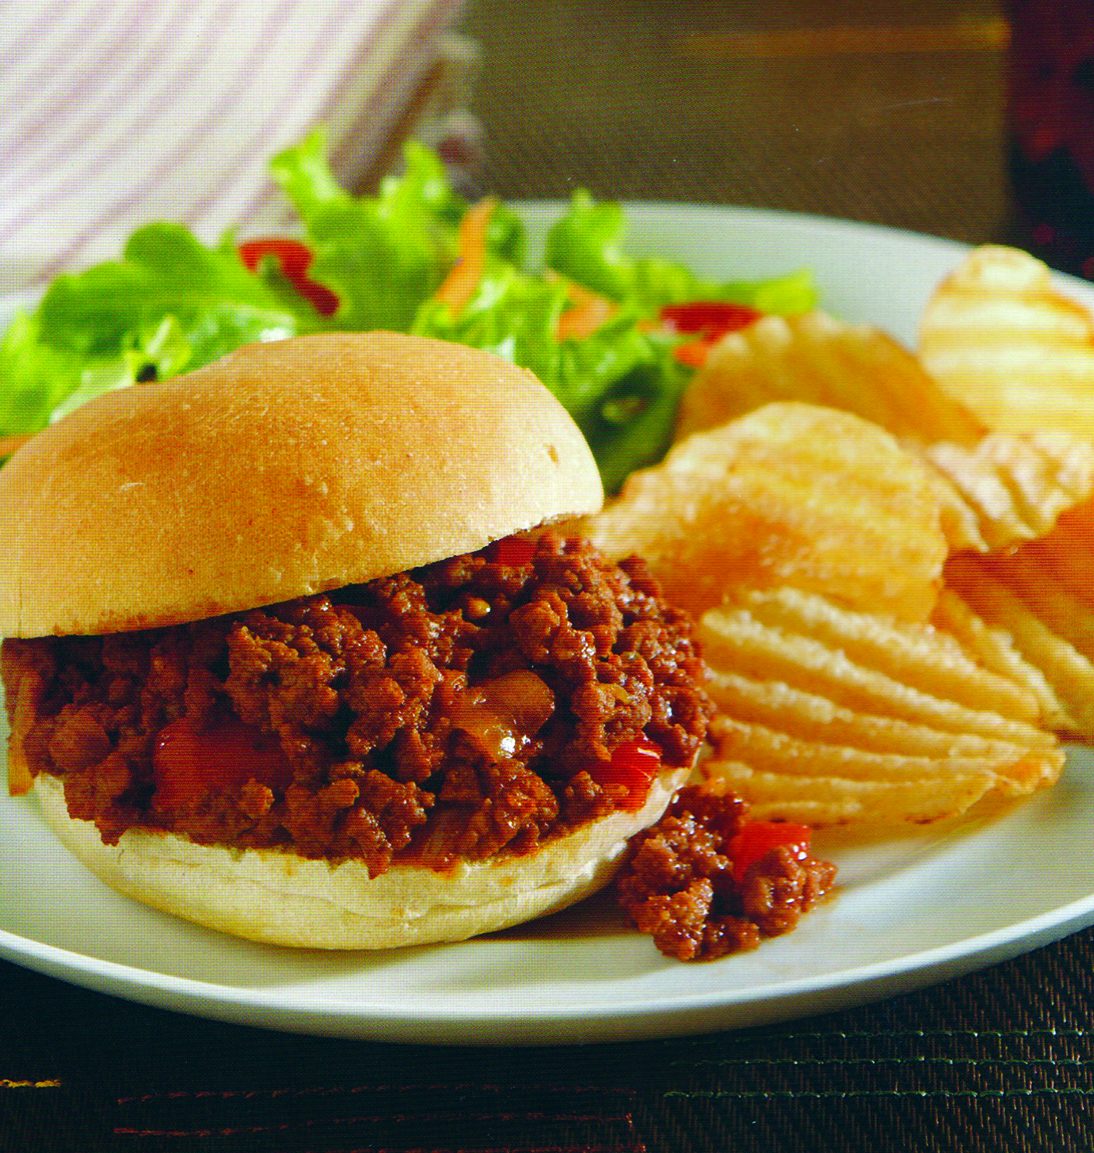
Suzie’s Sloppy Joes
Slow-cooked foods seem tailor-made when the mercury is low. Stews, soups and casseroles can simmer and gain great flavor through slow-cooking methods. But slow cooker appliances don’t need to be stored away when spring flowers start to bud. In fact, this method of cooking can bridge the gap between cold weather cuisine and the grilled and chilled fare of summer days to come.
Rely on a slow cooker for potluck dinners or when you have to feed a crowd. “Suzie’s Sloppy Joes” is a reinvented take on the traditional Sloppy Joe, and can feed the soccer team after practice or a busy family that has been on the go all day. This recipe, courtesy of “Crock·Pot® 365 Year-Round Recipes” (Publications International, Ltd.) from the Crock·Pot Kitchens, simmers for several hours and dishes up delectable flavor for an easy comfort meal.
Instructions:
1. Cook and stir ground beef, onion and garlic in large nonstick skillet over medium-high heat until beef is browned and onion is tender. Drain and discard fat.
2. Combine ketchup, bell pepper, Worcestershire sauce, brown sugar, mustard, vinegar and chili powder in a slow cooker. Stir in beef mixture. Cover; cook on low 6 to 8 hours. To serve, spoon mixture onto hamburger buns.
Did you know? Many recipes include Worcestershire sauce to add a tangy bite to the dish known as unami, or the savory fifth flavor. Worcestershire sauce contains vinegars, molasses anchovies, and tamarind extract to give it that specialty flavor. This fermented liquid condiment was created in the city of Worcester in Worcestershire, England during the first half of the 19th century. Creators John Wheeley Lea and William Henry Perrins were chemists, and they would later go on to form the food company Lea & Perrins. Because Worcestershire sauce contains anchovies, it is not suitable for those who have fish allergies.
Tip: To make Sloppy Joes slightly less sloppy, serve on bite-sized slider rolls.
Serves 4
Ingredients:
1 pound ground beef or ground sirloin
1 tablespoon Worcestershire sauce
1/2 teaspoon each of salt and freshly ground black pepper
4 thick-seeded buns or Kaiser rolls
Fixins
4 tablespoons mayonnaise
4 pieces crisp iceberg lettuce
4 thin beefsteak tomato slices
16 pickle slices or peppadew peppers
4 paper-thin slices red onion
Yellow mustard and ketchup
French fries, to serve
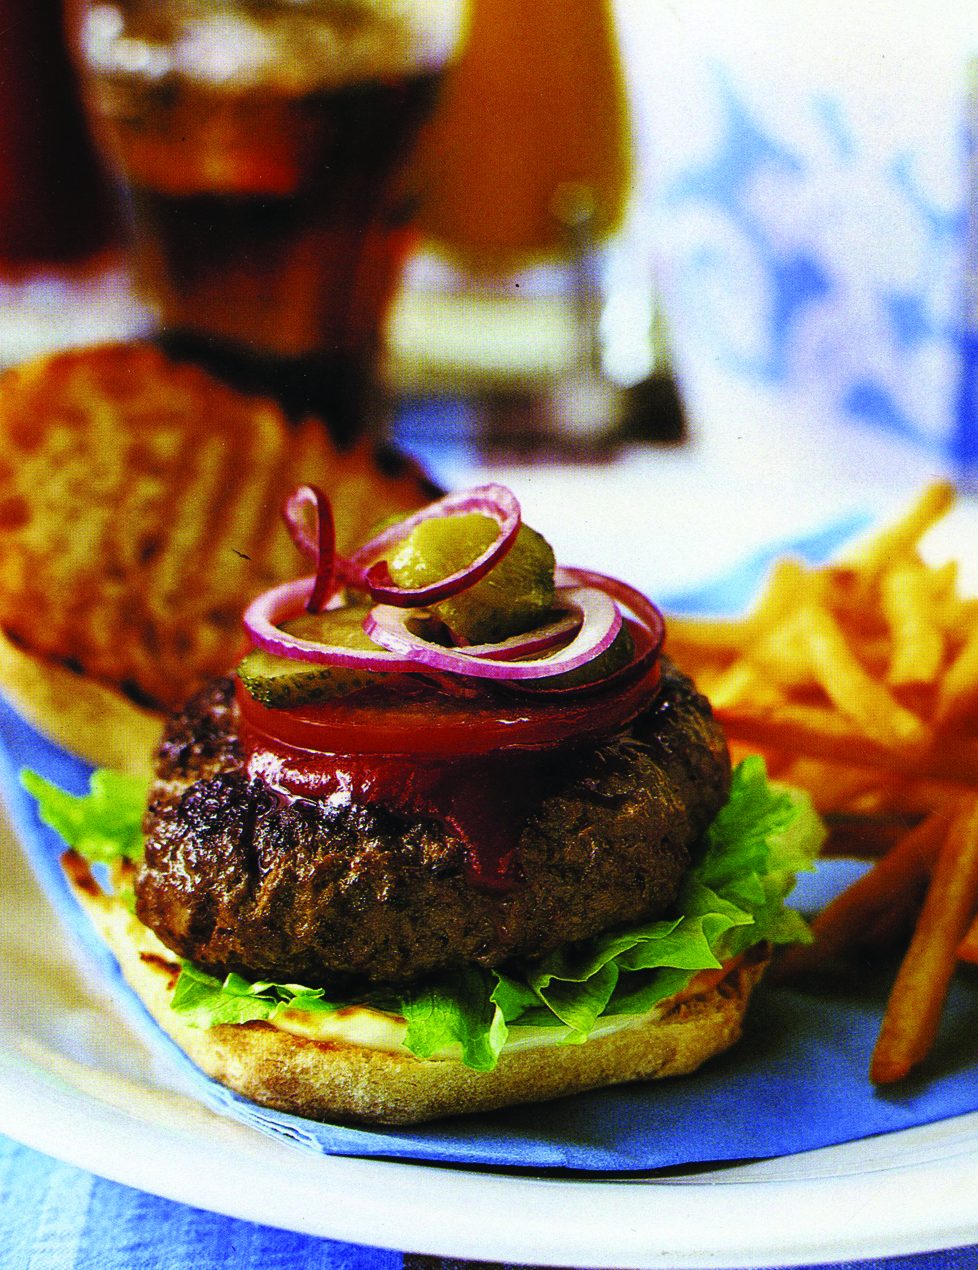
Hamburger
With All The Fixins
Diners are a popular place to gather with friends and family for a hearty and often inexpensive meal. Many diners boast specialty items, but nearly every diner has hamburgers on its menu, and diner burgers are often made to perfection. But hamburger enthusiasts don’t need to head out to a local diner when craving a diner-style burger. Thanks to the following recipe for a “Hamburger With All the Fixins” from Jennifer Joyce’s “Diner” (Ryland, Peters & Small), you can now enjoy a diner-style hamburger from the comforts of your own dinner table.
Instructions:
In a medium bowl, mix the ground beef, Worcestershire sauce, salt, and pepper. Form into four equal-sized burger patties.
Heat a grill pan or skillet until very hot. Lightly toast the buns and set aside. Season the burgers on both sides. Pan-fry the burgers over medium heat for about 3 minutes on each side for medium; cook slightly longer for well done. Alternatively, you can cook everything on an outdoor barbecue.
Spread the mayonnaise and a little mustard on the bottom of each bun. Lay down a piece of lettuce and top with a burger. Squirt some ketchup on each and top with the tomatoes, pickle and onions. Top with the other side of the bun. Serve with french fries.
Makes about 8 cups
Ingredients:
Seasoning Mix:
2 1/2 teaspoon dried sweet basil leaves
1 1/2 teaspoon salt
1 teaspoon dried thyme leaves
3/4 teaspoon white pepper
1/2 teaspoon garlic powder
1/2 teaspoon onion powder
2 teaspoon olive oil
1 cup thin strips prosciutto
2 cups cauliflower florets
2 cups sliced fresh mushrooms
1/2 cup sliced carrots (cut on the diagonal)
2 cups sliced zucchini
6 tablespoons unsalted butter
1 teaspoon minced fresh garlic
1 cup asparagus tips or 3/4 cups snow peas
1 cup chopped green onions
2 cups heavy cream
9 ounces of your favorite pasta
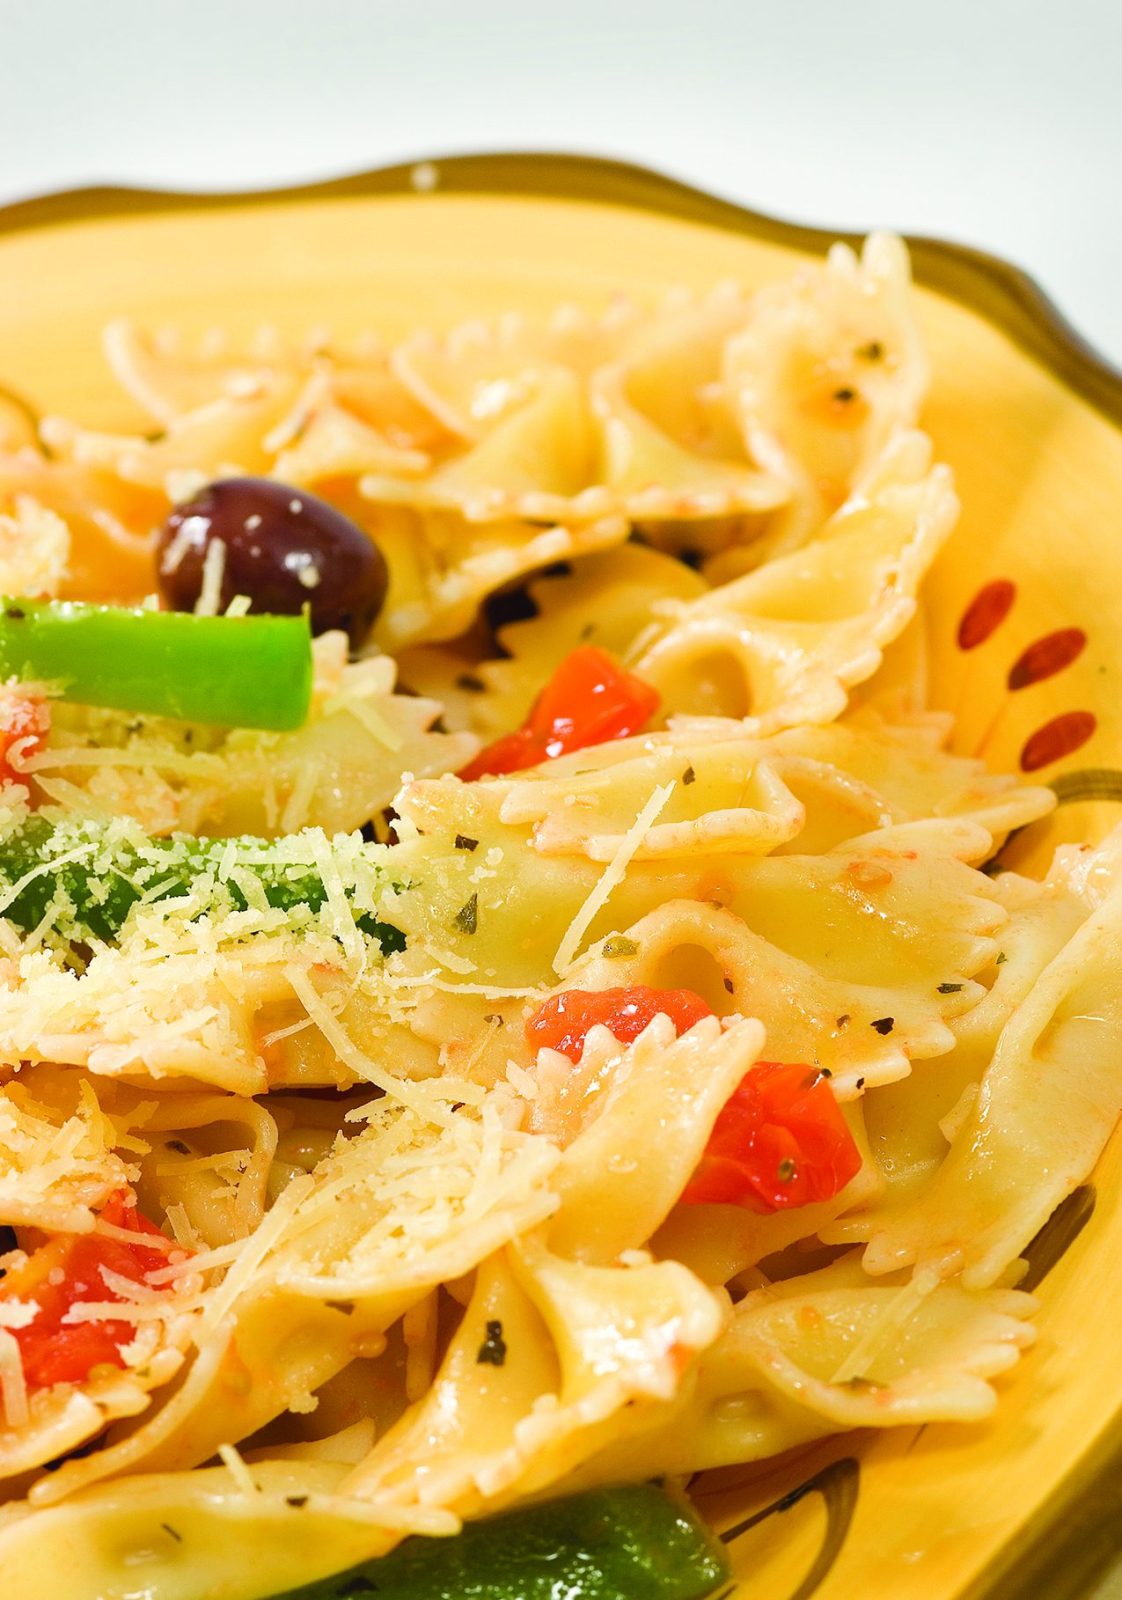
Pasta Primavera
Warm weather, blue skies and time spent outdoors are hallmarks of spring. Springtime is a season of rebirth and renewal. That’s evidenced by budding trees and the return of frolicking animals. Spring also can be a time to refresh meal-making.
Now is the time to trade in those hearty, filling dishes that are perfect for cold winter nights for lighter fare. Recipes like “Pasta Primavera” from “Seasoned America” (William Morrow and Company, Inc.) by Chef Paul Prudhomme can be brought out in spring and enjoyed throughout the warmer seasons. In Italian, “primavera” means “spring,” making this classic, vegetable-infused pasta dish a favorite this time of year. The vegetable inclusions below can be switched out for your own favorite produce as well.
Instructions:
Combine the seasoning mix ingredients thoroughly in a small bowl.
Heat olive oil in a 12-inch skillet over high heat. When oil is very hot, add the prosciutto, cauliflower, mushrooms, carrots, and zucchini. Add the butter and, as it melts, stir in the garlic and the seasoning mix. Stir in asparagus tips or snow peas and green onions. Stir well and cook just until the vegetables are crisp-tender, about 4 to 5 minutes. Stir in the cream and bring to a boil. Lower the heat to medium and cook until the sauce has thickened a bit, about 3 minutes.
Cook the pasta according to package directions; drain. Add the cooked pasta to the skillet, toss well and remove from the heat. Serve immediately.
Serves 2
Ingredients:
40 grams whole-wheat pasta rotini
4 ounces green beans, cut into thirds
1 egg
1/3 cup imported black olives
6 1/2 ounces canned tuna steak in spring water, drained and flaked
1 cup cherry tomatoes, halved
2 small heads Bibb lettuce, leaves separated
Dressing
1 tablespoon freshly squeezed lemon juice
1 tablespoon extra virgin olive oil
1 small garlic clove, crushed
2 heaping tablespoons chopped fresh basil
Sea salt and freshly ground black pepper
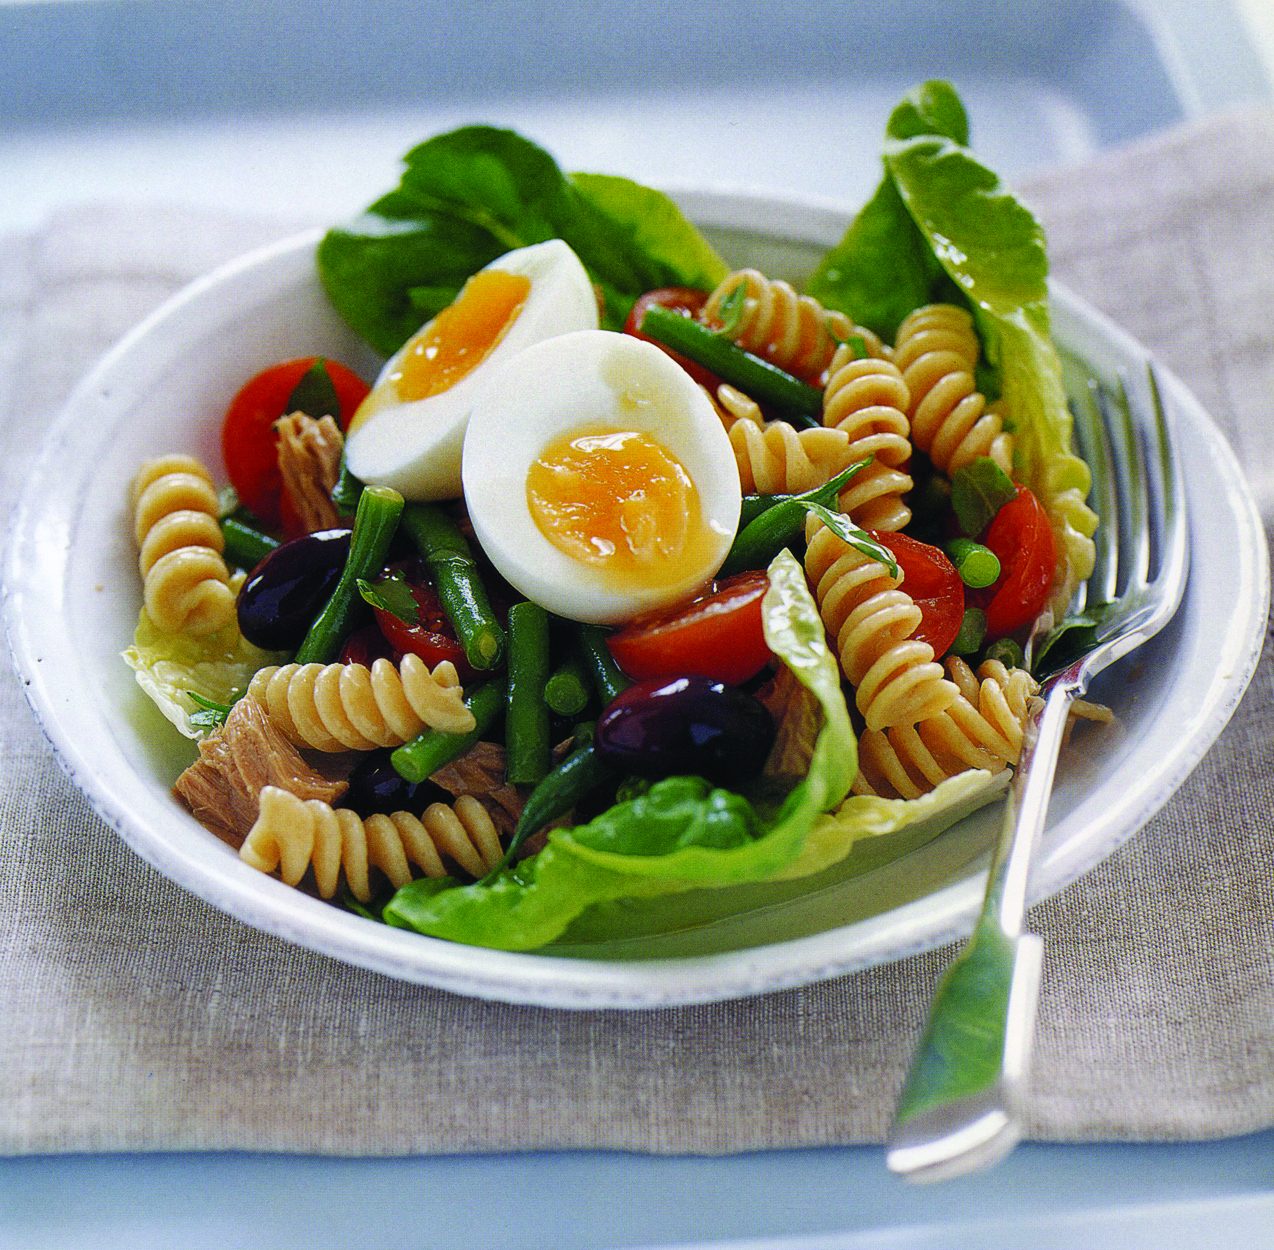
Nicoise Pasta Lunchbox
Lunch is a meal that can provide an energy boost or make you feel drowsy. In the middle of the workday, a big meal can make it much more difficult to be productive as the day goes on. For those looking for a light lunch, consider the following recipe for “Nicoise Pasta Lunchbox” from Rachael Anne Hill and Tamsin Burnett-Hall’s “The Powerfood Cookbook: Great Recipes for High Energy and Healthy Weight-Loss” (Ryland, Peters & Small).
Instructions:
Cook the pasta in a saucepan of lightly salted boiling water for about 12 minutes or until tender. Add the green beans to the pan for the last 3 minutes of cooking time. Drain the pasta and beans, then refresh briefly with cold water.
Meanwhile, add the egg to a small saucepan of cold water. Bring to a boil, then simmer for 6 minutes. Drain and rinse under cold water until cool. Peel the egg and cut in half.
Beat the dressing ingredients together with the seasoning in a mixing bowl. Mix in the pasta and beans, olives, flaked tuna, and cherry tomatoes. Divide the lettuce leaves between two lunch boxes or bowls and top with the Nicoise pasta and the hard-cooked egg halves.
Serves 2
Ingredients:
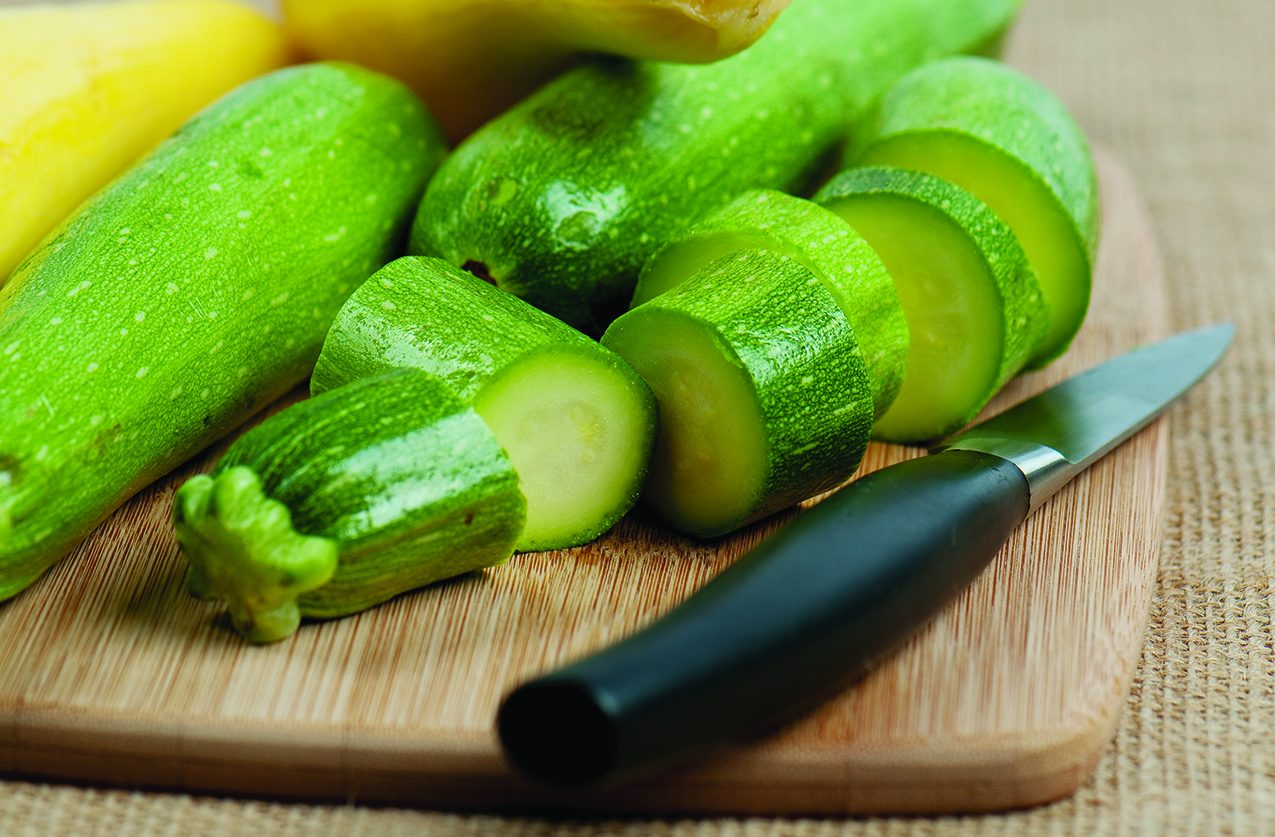
1 medium zucchini, shredded or sliced paper thin
6 cherry tomatoes, halved
3 tablespoons olive oil
Juice of 1 lemon
Sea salt and freshly ground pepper, to taste
3 to 4 basil leaves, thinly sliced
2 tablespoons freshly grated low-fat Parmesan cheese
Raw Zucchini Salad
Salads are a dietary staple across the globe. Salads are traditionally served chilled or at room temperature, and many are enhanced by oil, vinegar or another dressing. Many people are quick to think of certain varieties of lettuce as the prime base for salads. However, just about any fruit or vegetable can serve as a foundation for a tasty salad.
Zucchini and tomato provide excellent nutrition and can be hydrating, which can come in handy once the weather starts to warm. These versatile ingredients can be combined to form a robust salad to accompany any meal or one that can be enjoyed on its own. Such is the case with this recipe for “Raw Zucchini Salad” from “The Mediterranean Diet Cookbook” (Rockridge Press) by the editors of the Rockridge Press. Refreshing and filling, this salad may quickly become a staple of your diet.
Instructions:
Layer the zucchini slices on two plates in even layers. Top with the tomatoes. Drizzle with the olive oil and lemon juice. Season to taste.
Top with the basil and sprinkle with cheese before serving.

Serves 4 as a side dish
Ingredients:
1 pound mature spinach with stem and roots
Sea salt
Dressing:
2 tablespoons roasted sesame oil
1 tablespoon soy sauce
1 teaspoon spring onion, finely chopped
1 teaspoon roasted sesame seeds, crushed
1 teaspoon sagwa-shikcho (Korean apple vinegar)
1 teaspoon brown sugar
1 garlic clove, grated or finely chopped
Black pepper, freshly ground
Seasoned Spinach
Lighter fare is in season every summer. Salads may dominate menus, while vegetable-rich side dishes can dress up barbecues, brunches or outdoor buffet meals.
Spinach not only packs a nutritional punch, it can add flavor to any dish. According to Judy Joo, a French-trained Korean American chef and author of “Judy Joo’s Korean Soul Food” (White Lion Publishing), mature spinach has a heartier, meatier texture than its baby variety. Mature spinach is the star of the show in this recipe for “Seasoned Spinach,” a nutritious side dish with a delicious dressing.
Instructions:
Fill a large saucepan with water, salt well and bring to a boil. In a large bowl, prepare an ice bath.
Rinse the spinach with cold water to remove any dirt, especially around the roots. Remove any hairs from the roots. Cut the spinach into 13/4-inch-long pieces, keeping the purple roots intact. Split the roots in half horizontally and keep separately.
In a medium bowl, combine the dressing ingredients and stir until the sugar has dissolved. Set aside.
Blanch the spinach in two separate batches. In the boiling salt water, blanch the spinach stems with leaves until just wilted, about 1 minute, remove the spinach from the water and plunge in the ice bath. Repeat with the spinach stems with roots, but cook for 1 to 2 minutes before plunging into the ice bath. Remove from the ice bath, drain well and gently squeeze out any excess water.
Gently loosen the clumps of spinach with your fingers and transfer to a bowl. Toss well with the dressing. Cover and chill for about an hour to allow the flavors to mellow before serving.
Serves 10
Ingredients:
1/4 cup vegetable oil
2 medium onions, chopped
3 cloves garlic, minced
2 inches of ginger, minced
2 teaspoons ground turmeric
11/2 teaspoons whole or ground cumin seeds
1 tablespoon ground fenugreek seeds (optional)
1 medium/large tomato, chopped
1 or 2 long green chile peppers, seeded and finely chopped
11/2 teaspoons salt, or to taste
1/3 cup tomato paste
2 teaspoons garam masala
4 cups potatoes, peeled and cut into 11/4-inch cubes.
3 cups frozen peas, thawed
1/2 cup cilantro leaves and stems, finely chopped, plus some for garnish
Curry of Vegetables with Potatoes (Aloo Mutter)
Instructions:
In a large, heavy-bottomed pot, heat the oil and sauté the onions, garlic and ginger over medium heat until lightly browned, stirring frequently. Add the spices and brown for 1 more minute. For a smooth gravy, purée this tardka in a blender.
Return the tardka to the pot and add the tomato, chile pepper and salt, stirring constantly for another few minutes. Stir in the tomato paste, 1 teaspoon of the garam masala, potatoes, and three cups of water. Simmer for 30 minutes over low heat, stirring occasionally.
Add the peas plus 21/2 cups water. Taste for salt and heat through. Before serving, sprinkle with the last teaspoon of garam masala and the cilantro leaves garnish.
Serves 6
Ingredients:
4 tablespoons olive oil
2 tablespoons balsamic vinegar
1 teaspoon Dijon mustard
1 clove garlic, minced
6 cups baby arugula leaves
6 oil-packed artichoke hearts, sliced
6 low-salt olives, pitted and chopped
1 cup cherry tomatoes, sliced in half
4 fresh basil leaves, thinly sliced
Arugula and Artichokes
Instructions:
Make the dressing by whisking together the olive oil, vinegar, Dijon mustard, and garlic until you have a smooth emulsion. Set aside. Toss the arugula, artichokes, olives, and tomatoes together.
Drizzle the salad with the dressing, garnish with the fresh basil, and serve.
Serves 4
- 1 medium head lettuce (green leaf, red leaf or romaine), cut into thin strips
- 1 medium cucumber, chopped
- 1/2 cup tomatoes chopped
- 1 15.5-ounce can no-salt-added chickpeas, rinsed and drained
- 1/2 medium red onion, finely sliced
- 1/2 cup crumbled fat-free or low-fat feta cheese, or 1/2 cup shredded Parmesan cheese
- 2 tablespoons red wine vinegar or 2 tablespoons cider vinegar
- 1/2 teaspoon garlic powder
- 1/2 teaspoon pepper
Mediterranean Flavors Shine Through In Salad
People often turn to lighter fare when the weather warms because a dense, hot meal can contribute to feeling sluggish or overheated when the mercury has risen. In addition to sandwiches and platters of finger foods, salads can be refreshing on warm days. They also tend to be less calorie-dense and healthier than other offerings.
This recipe for “Mediterranean Salad,” courtesy of The American Heart Association, is full of vegetables and beans and fits with a heart-friendly diet. It’s filling and delicious any time of the day or year.
In a large bowl, gently toss the lettuce, cucumber, tomatoes, chickpeas, onion, and feta. In a small bowl, whisk together the oil, vinegar, garlic powder, and pepper. Pour the dressing over the salad, tossing to combine. |
Penny Power reserves the right to reject, cancel or edit any materials submitted for publication at any time for any reason. Penny Power will not publish any photo depicting a potentially dangerous situation, obscenities or use of dangerous materials. Penny Power will not be held responsible for any damages incurred for any portion of this promotion. Please stay safe when taking photos. Children under 18 years old must have parent/guardian permission to submit data to Penny Power.