

Scroll for Halloween Games, Coloring Pages, Photos Submitted By Readers, Recipes & More!
Costumes & Decorations
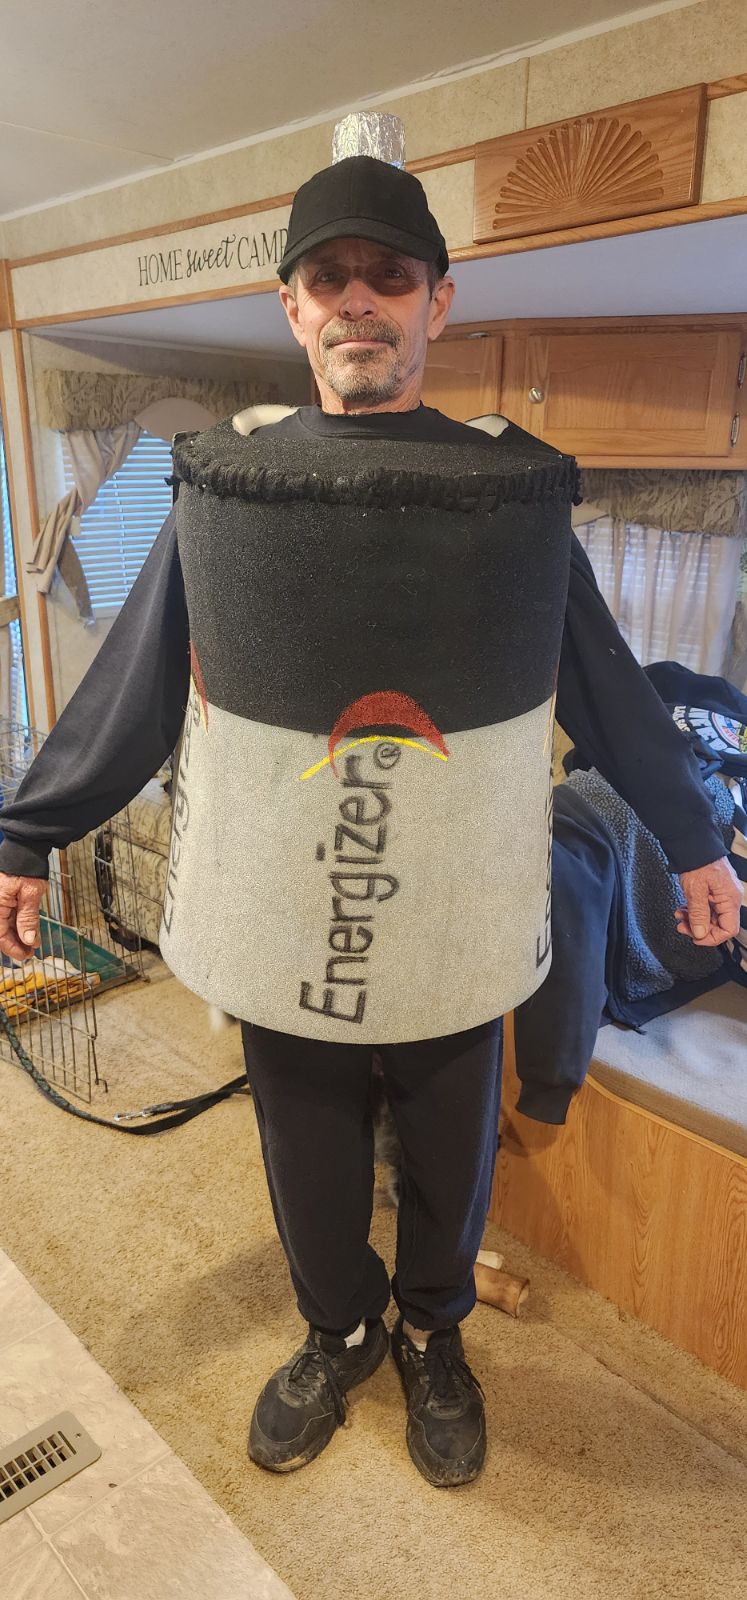
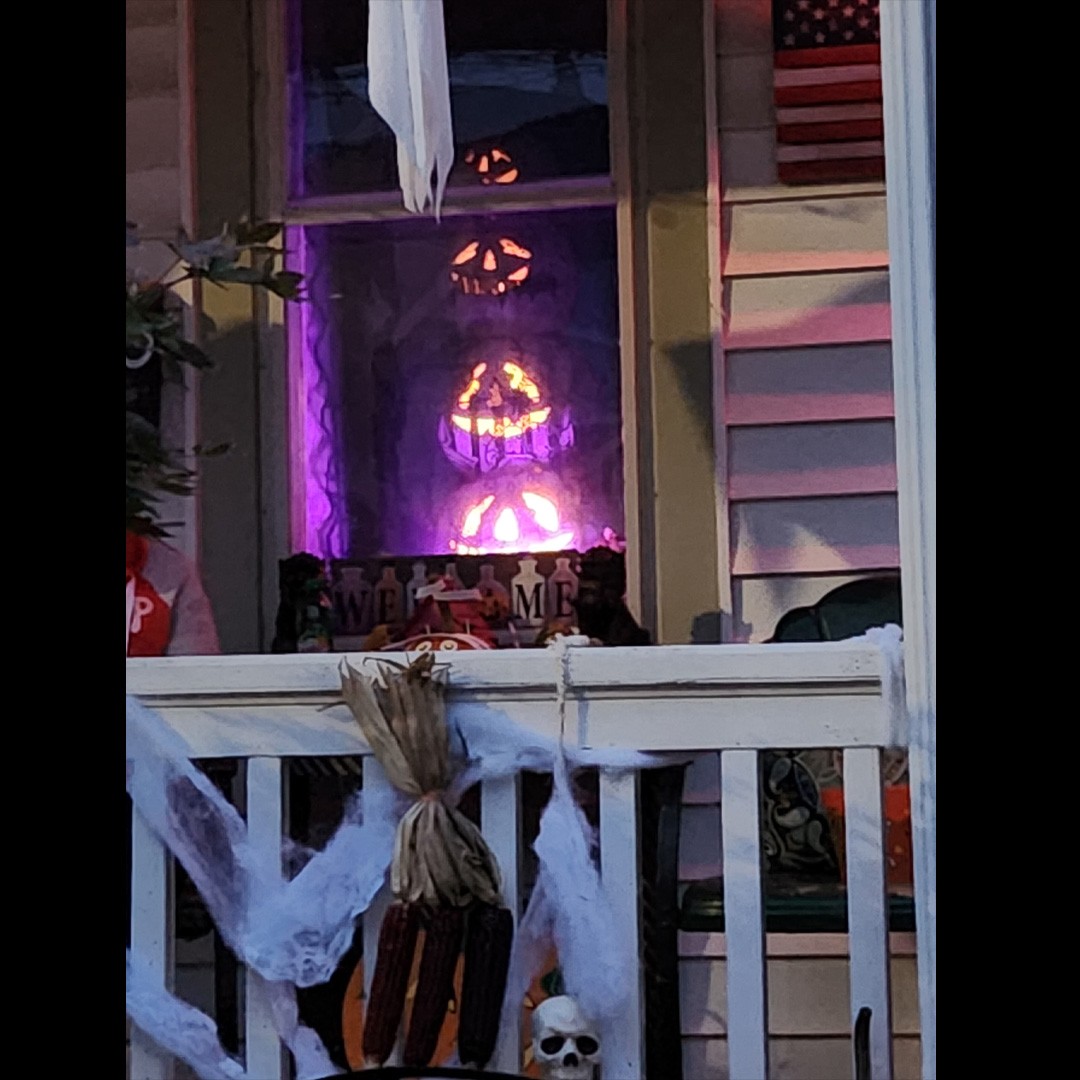
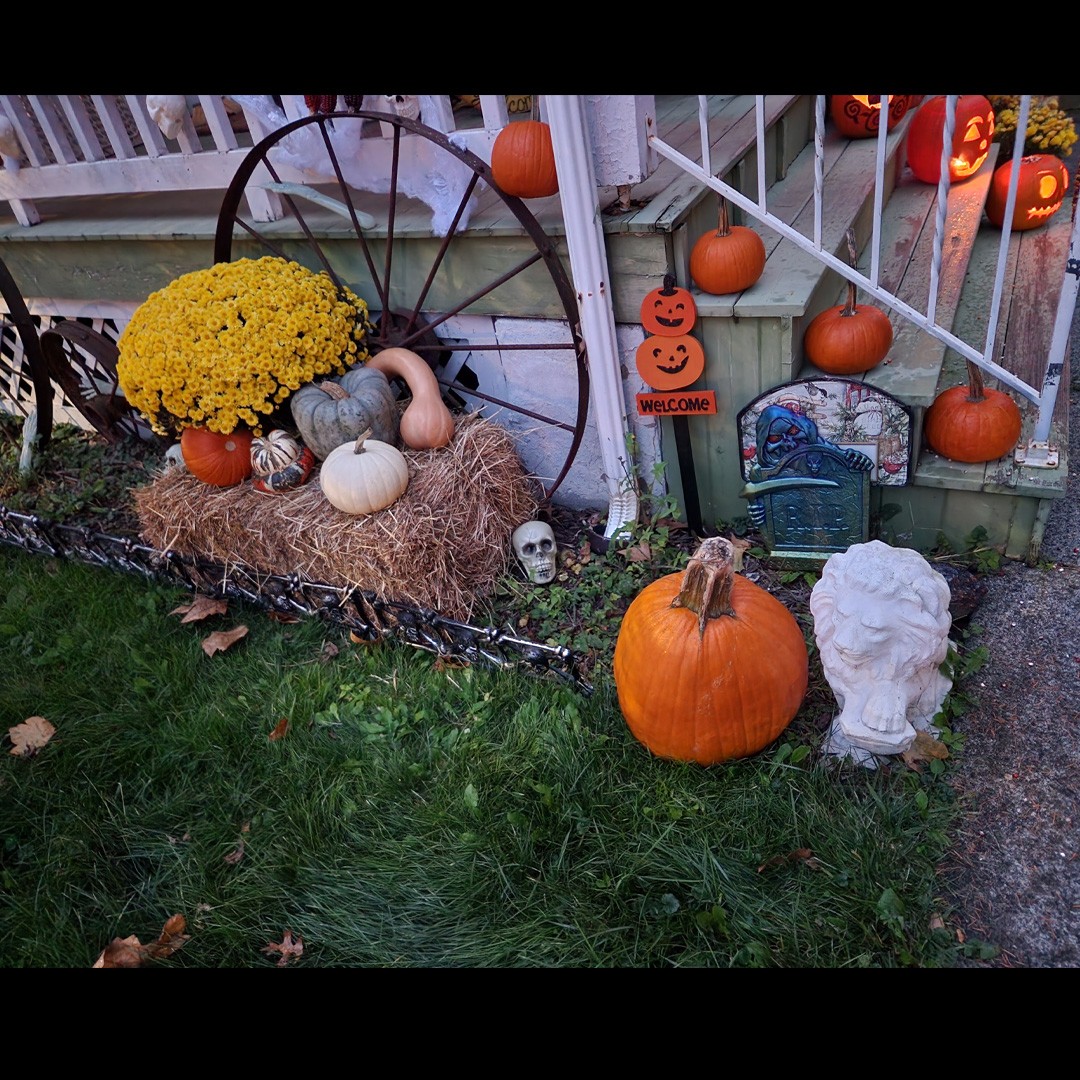
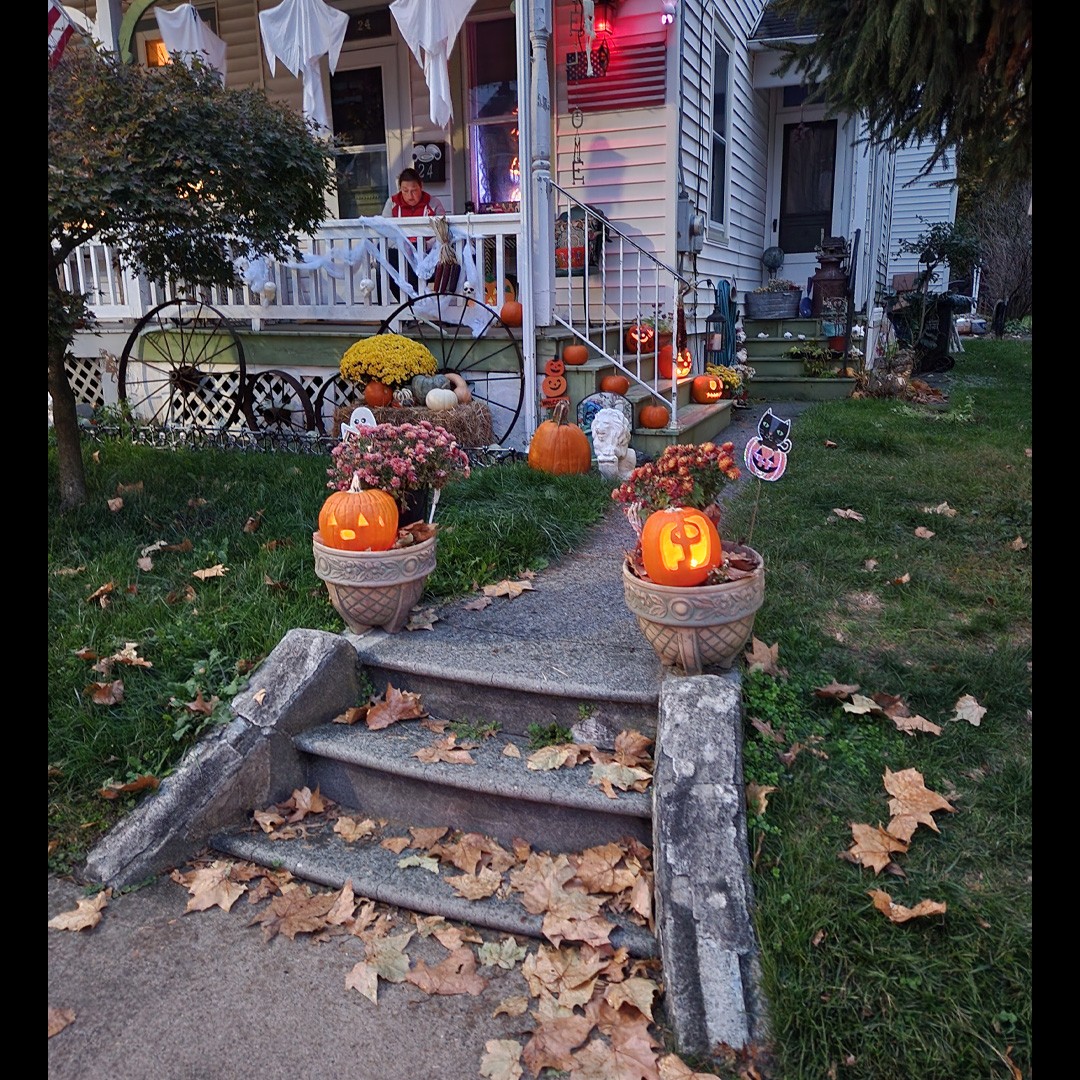
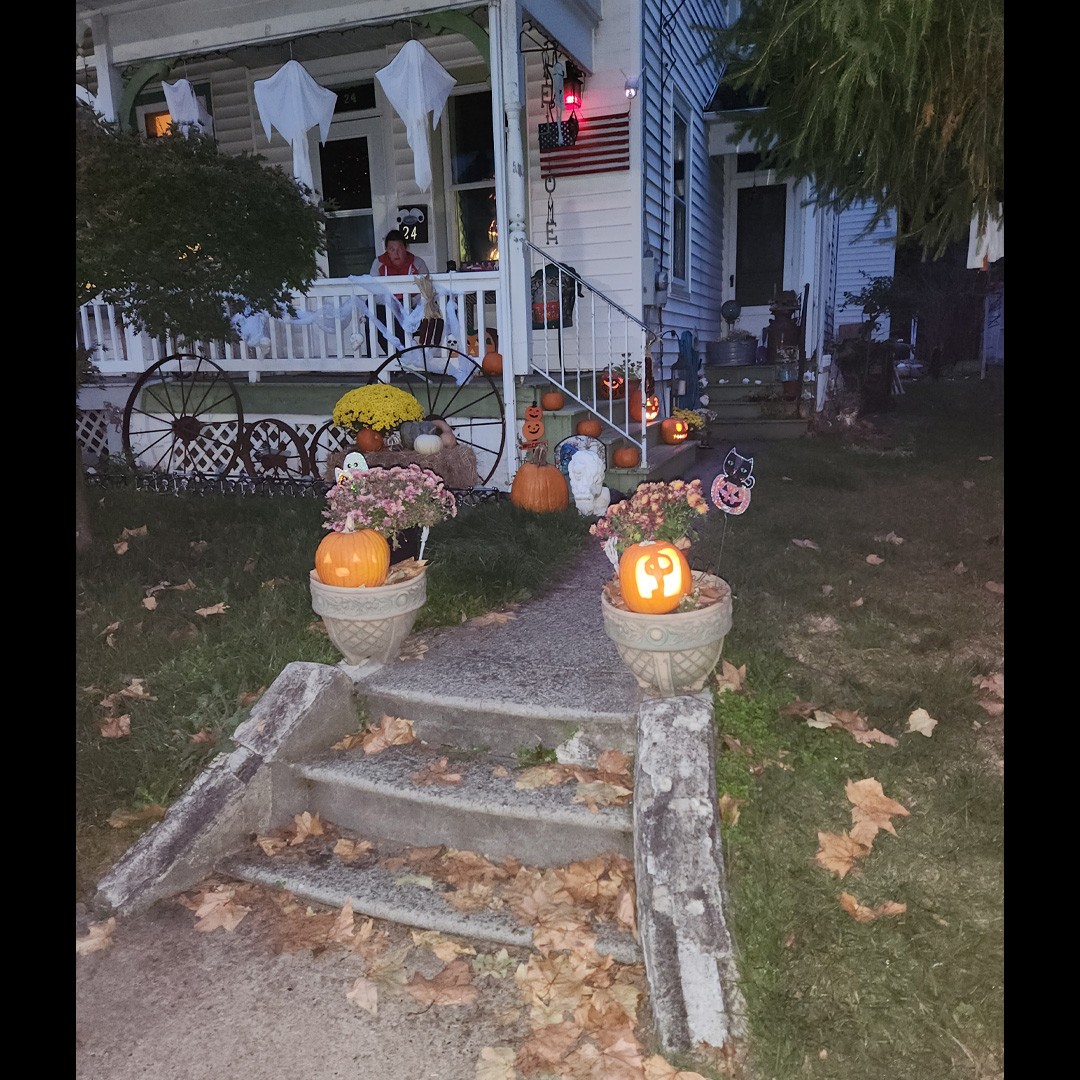
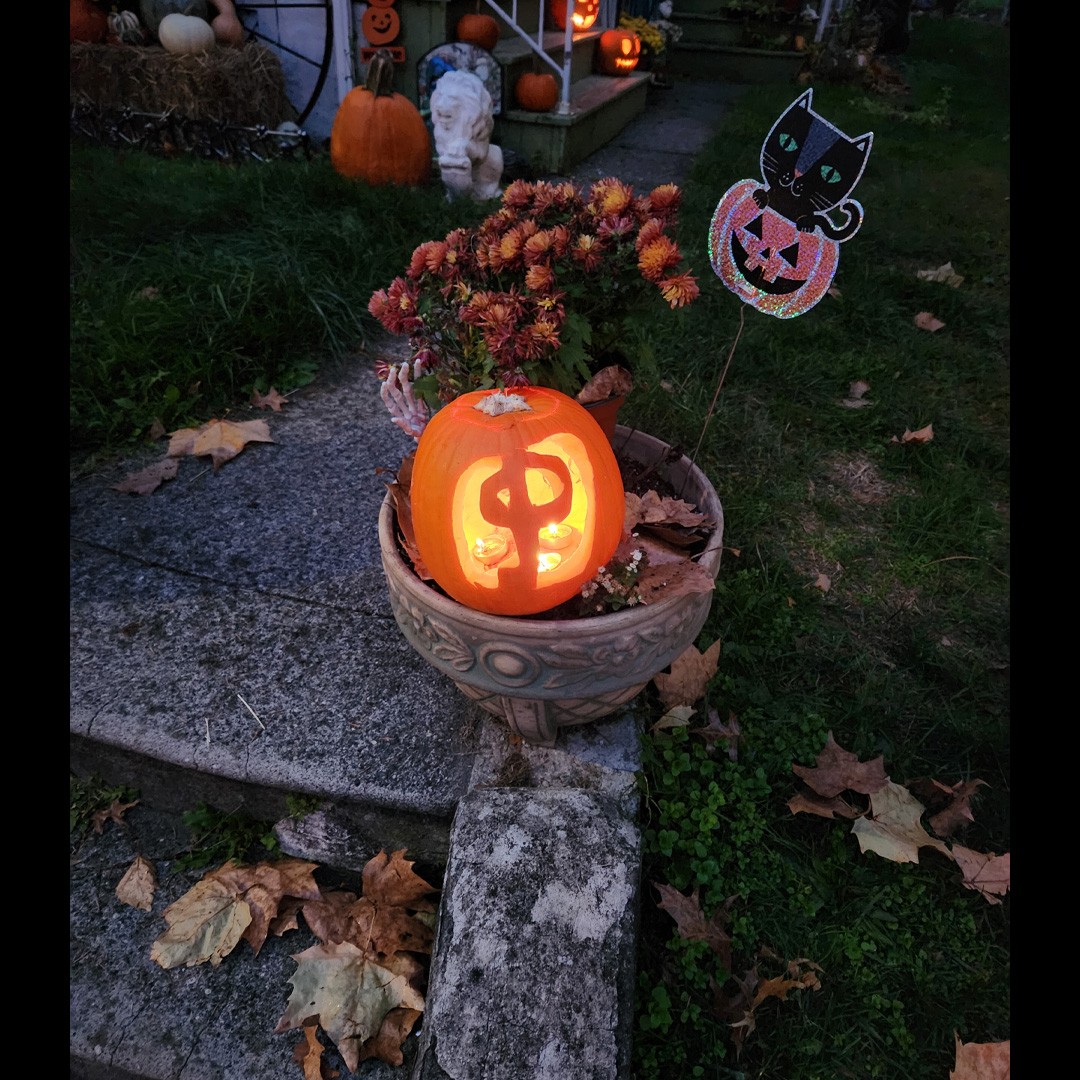
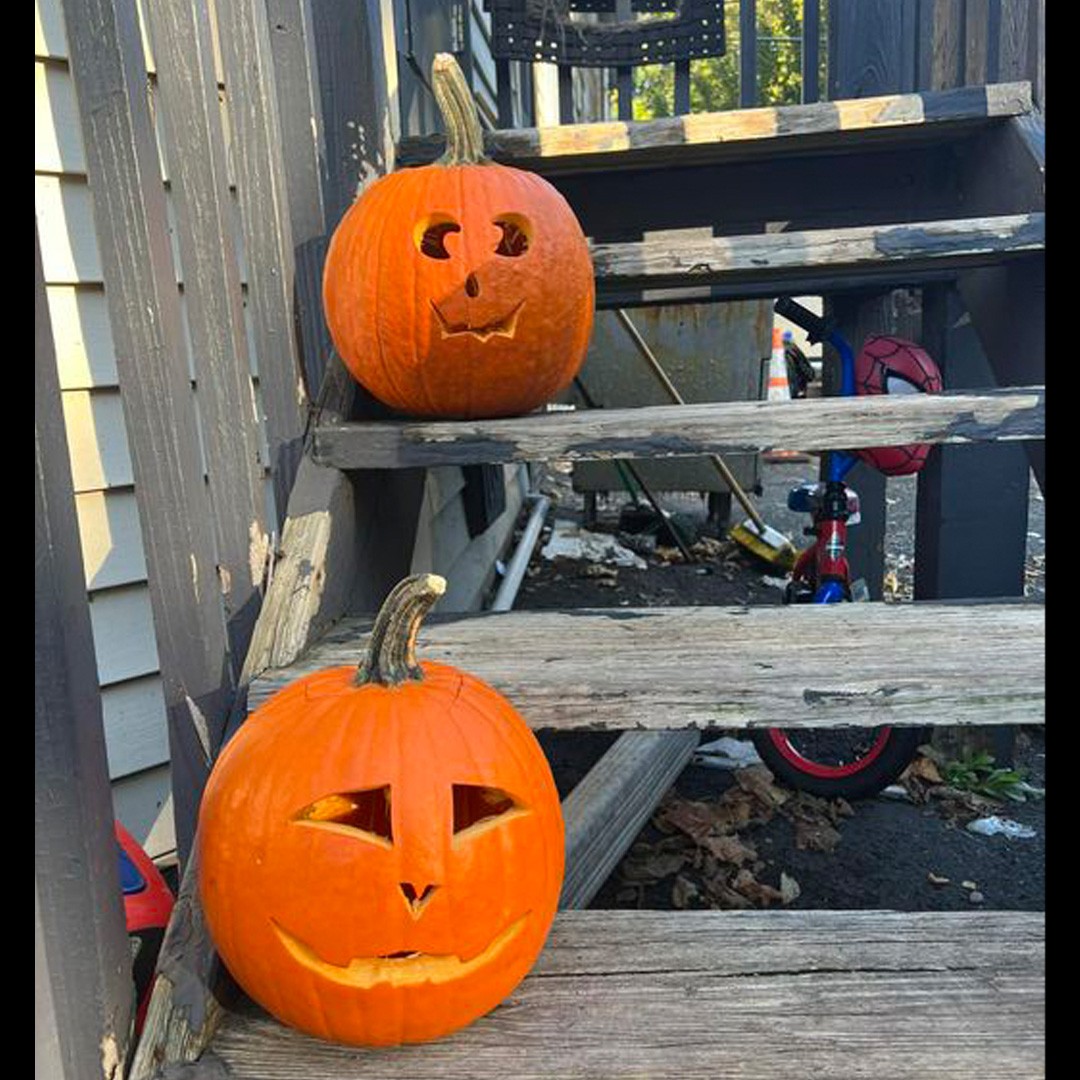
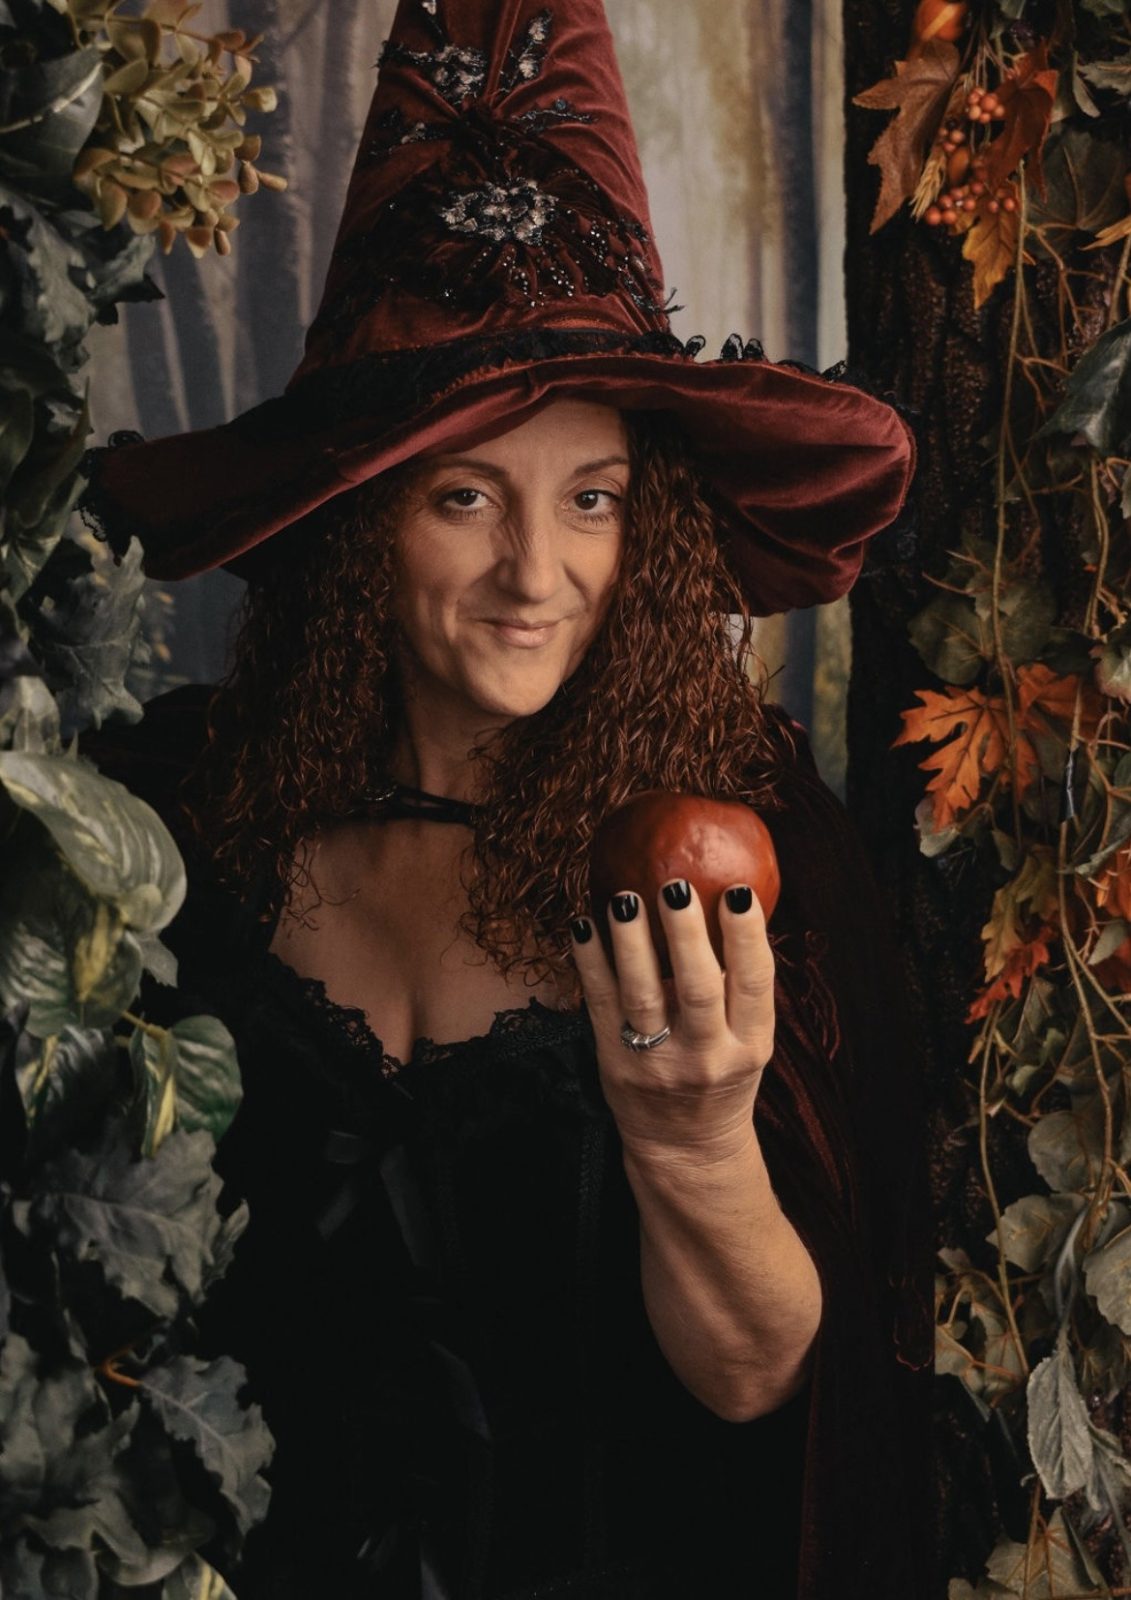
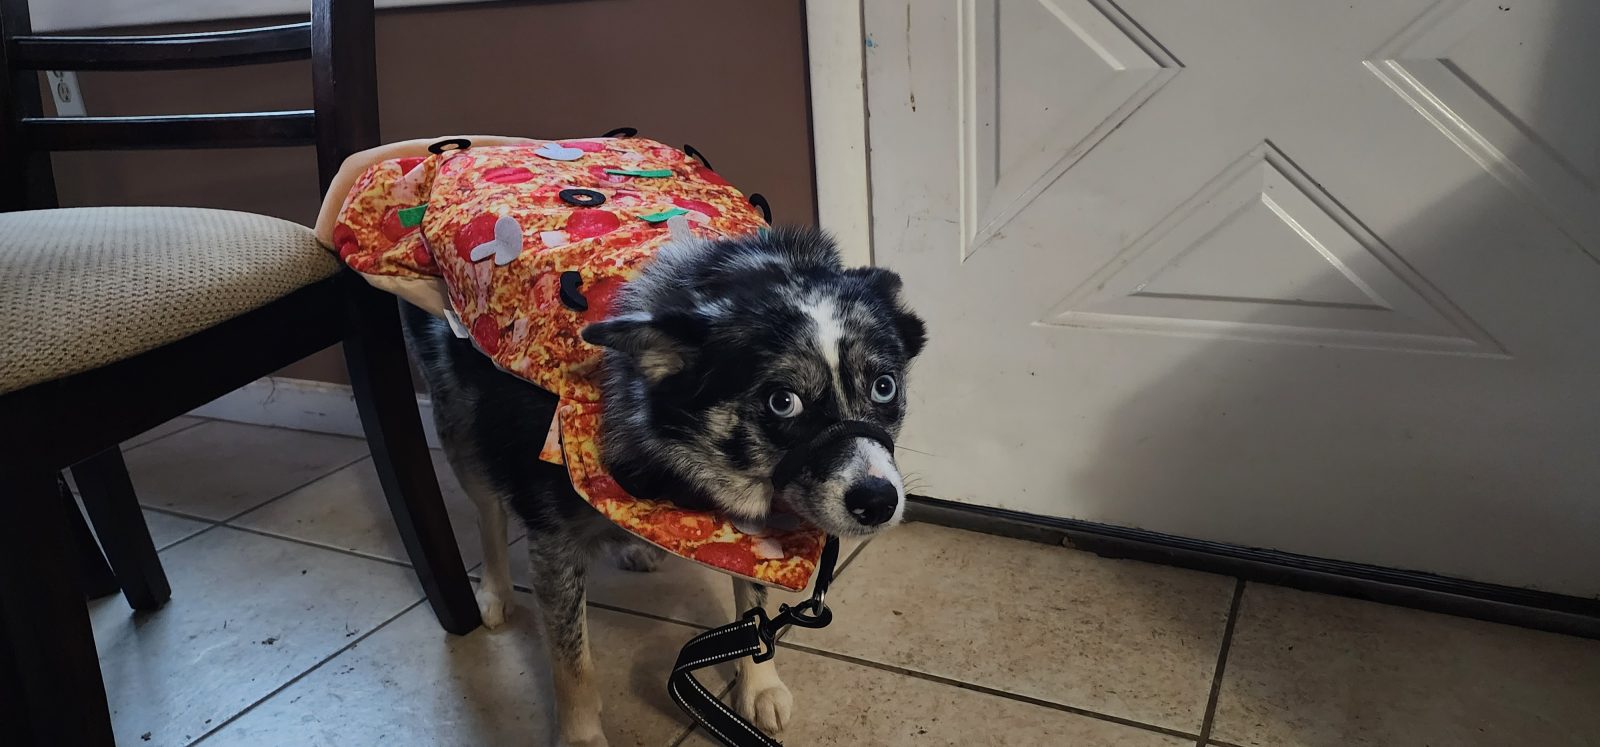
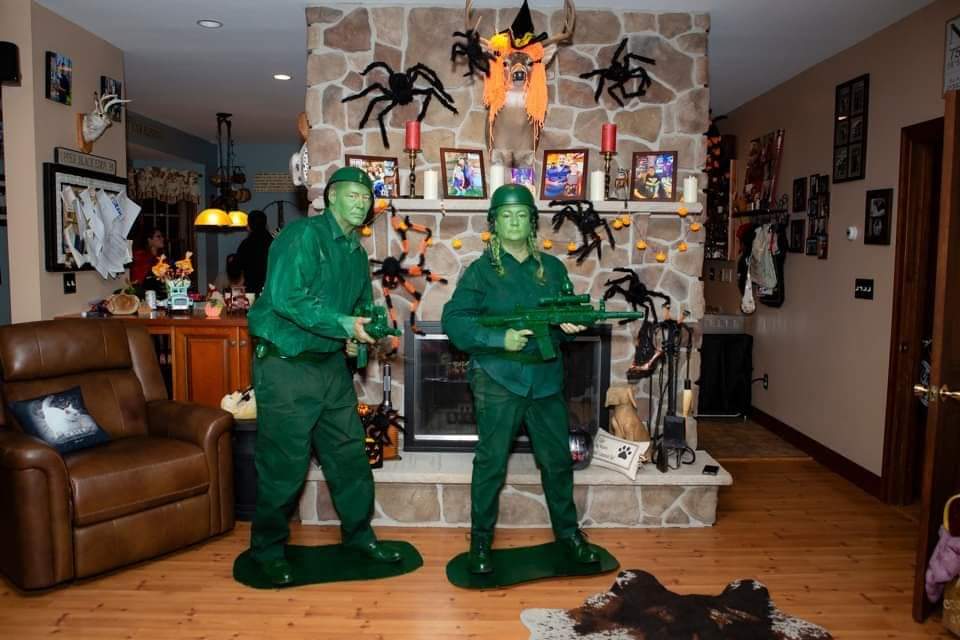
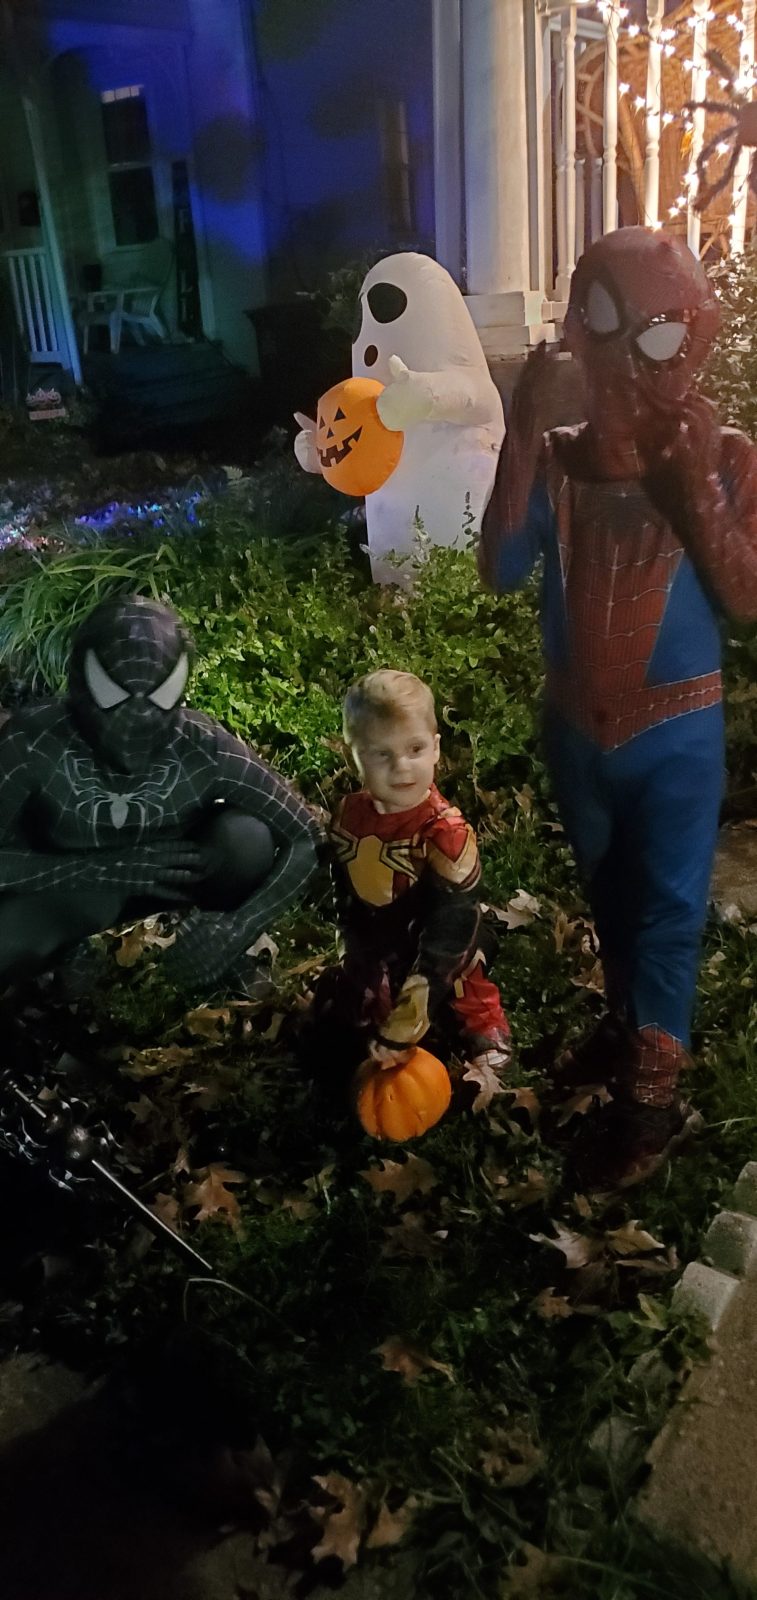
Costumes & Decorations by You!
Images below submitted to us by Penny Power readers, like you! Send us your Halloween/Fall Costumes & Decorations to post below.


Please stay safe when taking photos. Penny Power reserves the right to reject or cancel any materials submitted for publication at any time for any reason. Penny Power will not publish any photo depicting a potentially dangerous situation, obscenities or use of dangerous materials. Penny Power will not be held responsible for any damages incurred for any portion of this promotion.
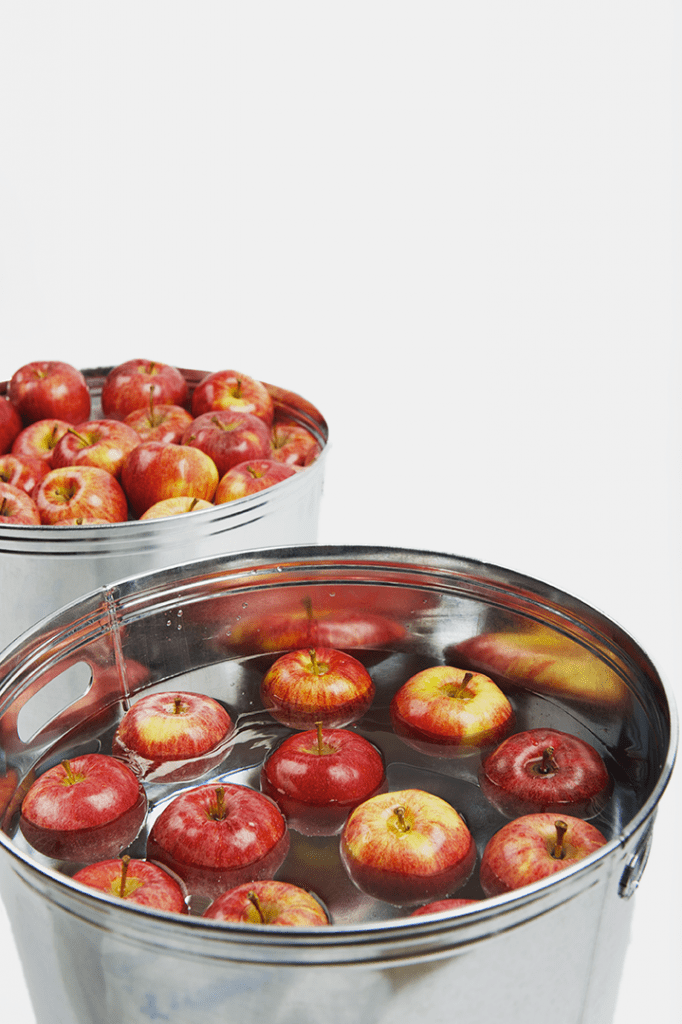
Apple bobbing has fallen out of favor, with parents lamenting the unsanitary conditions and potential spread of germs, not to mention the hazard of drowning. Thankfully, there are various alternatives to apple bobbing that can still make for an exciting Halloween game.

AUTUMN GAME ALTERNATIVES
CANDY CATCH
Participants line up holding a small receptacle, such as a cone-shaped party hat turned upside down or a small plastic pumpkin. While an adult tosses candy into the air, the children try to catch it in their containers. Apple Toss As a variation on a beanbag game or ring toss activity, players can aim a plastic apple or pumpkin into a hole or barrel. Red ping pong balls tossed into canning jars or plastic cups can work as well.
FISHING FOR APPLES
Attach a magnet to an end of string tied to a stick to make a fishing rod of sorts. Cut out paper apples and adhere something metallic to the cut-outs, such as paper clips. Kids take chances fishing out their selections. Each cut-out earns players a prize.
HANGING APPLES
Rather than putting apples in a barrel full of water to float, tie strings to the stems. Then hang each individual apple to a clothesline. Without using their hands, participants must eat the majority of the apple of their choosing. Apples can be replaced with other treats, such as doughnuts.
BOBBING TWIST
Party hosts can still float apples in a bucket of water, having participants bob in a different way. They can try to scoop apples out with a small spoon or two chopsticks. Let imaginations reign supreme while keeping germs out of the apples.


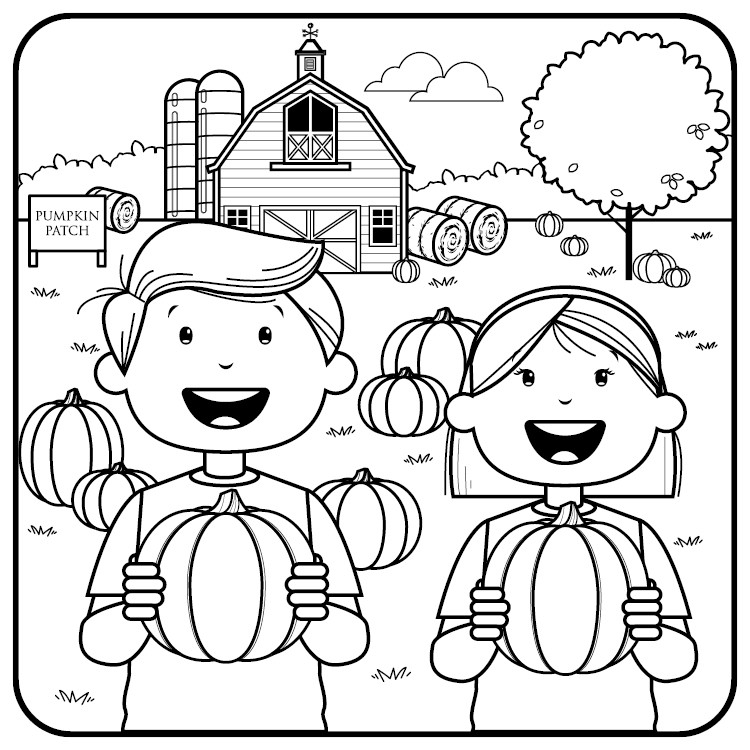
Coloring Pages
Click Each To Enlarge & Print
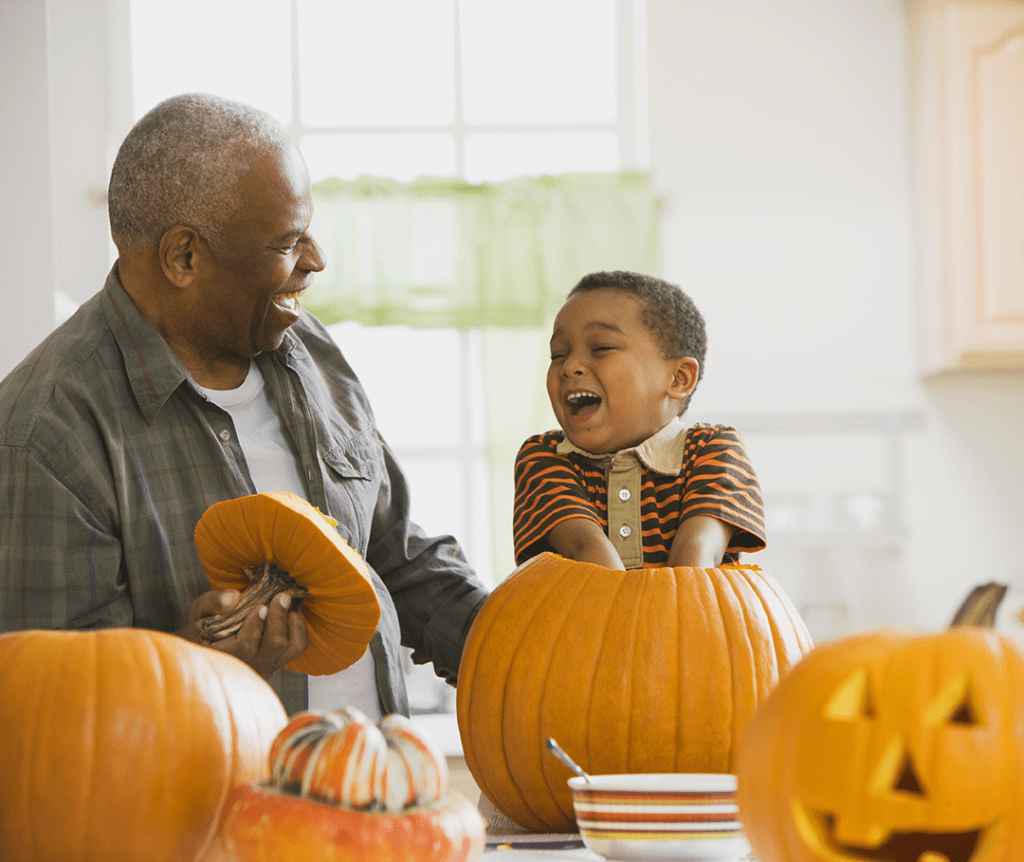
Pumpkin Carving Tips
These tips can help anyone carve a pumpkin:
1.Begin with a fresh pumpkin. Look for a pumpkin with a green stem.
2.Plan your ideas. Draw a plan for your pumpkin before you make your first cut.
3.Delay carving until the last minute. Wait until the day before Halloween to begin carving.
4.Don’t cut all the way through. Carve and shave off layers of the outer rind until it becomes more translucent.
5.Cut a hole in the back. Cutting off the top of the pumpkin can affect its structural integrity and cause it to rot faster.
6.Use an electric light to illuminate it. LEDs work best because they don’t generate much heat.
Look for a pumpkin with a green stem.


Recipes
Chocolate Fudge Pie
Serves 8
[expand title=”View Recipe”]
1 pie crust (store-bought or homemade), fitted into a 9-inch pie plate
6 ounces semisweet chocolate, chopped, plus more shaved, for topping
1/2 cup (1 stick) unsalted butter
3 large eggs
1/8 teaspoon kosher salt
1/2 cup plus 3 tablespoons granulated sugar
11/2 cups heavy cream
Heat oven to 375 F. Place the pie plate on a baking sheet. Prick the crust with a fork and line with foil. Fill to the top with pie weights or dried beans. Bake until the edges are firm, 20 to 25 minutes. Remove the foil and weights and bake until just golden, 8 to 10 minutes more. Reduce oven temperature to 325 F.
Meanwhile, in a large heatproof bowl set over (not in) a saucepan of simmering water, melt the chocolate and butter, stirring often, until smooth; set aside.
Using an electric mixer, beat the eggs, salt, and 1/2 cup of the sugar on medium-high speed until fluffy, 4 to 5 minutes. Fold one-third of the egg mixture into the chocolate mixture, then fold in the remainder.
Pour the mixture into the crust and bake until puffed and beginning to crack, 20 to 25 minutes. Cook for 1 hour, then chill until firm, at least 2 hours.
Beat the cream with the remaining 3 tablespoons of sugar on medium high-speed until soft peaks form. Spread over the pie and sprinkle with the shaved chocolate.
[/expand]
A healthy choice!
Healthy Halloween Snack Options
[expand title=”View Article”]
Halloween is a magical time of year. Homes are adorned with festive fall accoutrements, including hay bails, pumpkins and mums as well as the black, purple and orange decorations that are unique to a season of ghouls and goblins.
Although decorating is a large part of the fun of Halloween, the sweet treats that are distributed to trick-or-treaters and presented at Halloween parties are arguably the most popular component of this beloved holiday. Candy is everywhere come Halloween. The National Confectioners’ Association reports that Halloween is the largest confectionary holiday, followed by Easter and Christmas. The National Retail Federation and NCA indicate the average American consumes 3.4 pounds of candy around Halloween, and 600 million pounds of candy are purchased across the country for the holiday.
Is it possible to escape the Halloween sugar overload? For those who want to enjoy some healthier options than candy corns and other sweet staples, these ideas are not so frightening.
· Pizza mummy: Use slices of toasted sandwich bread or English muffins to make some spooktacular fare. Coat the bread with pizza sauce. Then place thin vertical slices of mozzarella cheese in a haphazard pattern to replicate the look of gauze on a mummy. Two pieces of sliced black olives serve as the eyes.
· White, orange and yellow platter: Simulate the look of candy corns’ white, orange and yellow color palette with healthier offerings. Stack cauliflower, or another white food like monterey jack cheese, baby carrots and yellow bell peppers on a platter. Serve with your favorite dip.
· Deviled brains: Turn regular deviled eggs into something more sinister for Halloween buffet tables. Simply add food coloring to the filling to create a pinkish-brown hue that resembles a human brain. Then use a piping bag fitted with a thin icing tip to pipe the shape of brains onto the hardboiled egg halves.
· Veggie skeleton: Use assorted vegetable slices, cheese sticks, fruits, nuts, and more to inspire a Halloween-inspired charcuterie board. Arrange everything to resemble a skeleton on the platter.
· Ghostly bananas: Insert popsicle sticks into the bottoms of bananas and freeze until solid. Prepare white melting chocolate according to directions, then dip the frozen bananas into it. While wet, stick on two mini chocolate chips to make the eyes of the ghosts. Place in the refrigerator to harden.
· Spider crackers: Use buttery Ritz® crackers or something similar for this recipe. Spread a relatively thick layer of cream cheese (or peanut butter if allergies are not a concern) on one cracker. Cut thin pretzel sticks in half and use four on each side to make spider legs, sticking them into the cream cheese. Top with another cracker and secure to the cream cheese. Raisins connected with more cream cheese complete the eyes of the spiders.
Anyone can use his or her imagination to make delectable and healthy Halloween offerings in lieu of more sweets.
[/expand]
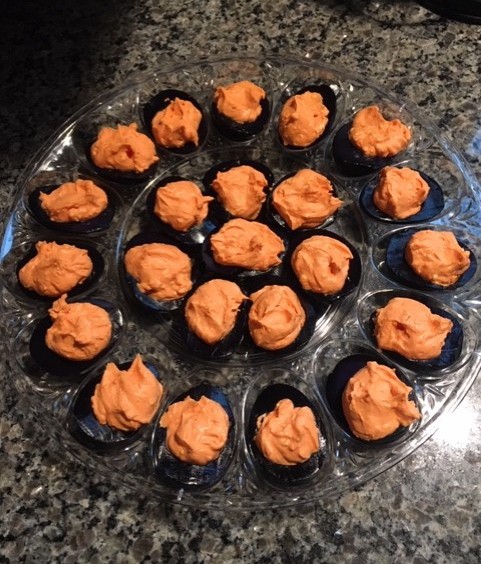
Halloween Deviled Eggs
[expand title=”View Recipe”]
Hard boil 1 dozen large eggs for 10-12 minutes. Cool, peel, then 1/2 – put the yokes in a separate bowl.
Put the 1/2’s in a bowl with 1 cup of water, 1 tbsp. of vinegar and 10 drops of black food coloring.
Allow the egg 1/2’s to color in the fridge overnight – make sure to stir to ensure even coating.
Filling:
Smash the yokes with a fork or potato masher
Add 1/2 cup of mayonnaise, salt, pepper, dash of sour cream and whatever other favorite ingredients go into your
deviled egg filling…add 5 drops of yellow and 10 drops of red food coloring, mix with mixer until thoroughly incorporated.
Dump dye water off the whites and blot dry with paper towels.
Fill and enjoy!!!!
Tips: If your family enjoys olives, sliced black or green olives to top adds a nice touch.
[/expand]
A healthy choice!
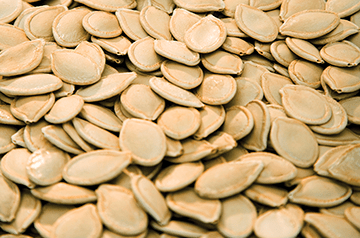
Roasted Pumpkin Seeds
[expand title=”View Recipe”]
This Halloween, don’t forget to add a little nutrition to celebrations by roasting some pumpkin seeds.
1. Remove seeds from the inner cavity. Pumpkin seeds may sometimes be covered in excess pulp. Upon removing the seeds from the inner cavity, wipe off the pulp and then spread the seeds out evenly on a paper bag, allowing them to dry overnight.
2. Once the seeds have dried, they can be placed in a single layer on a cookie sheet. Roast the seeds in the oven at a temperature between 160 and 170 F for 15 to 20 minutes.
[/expand]
A healthy choice!
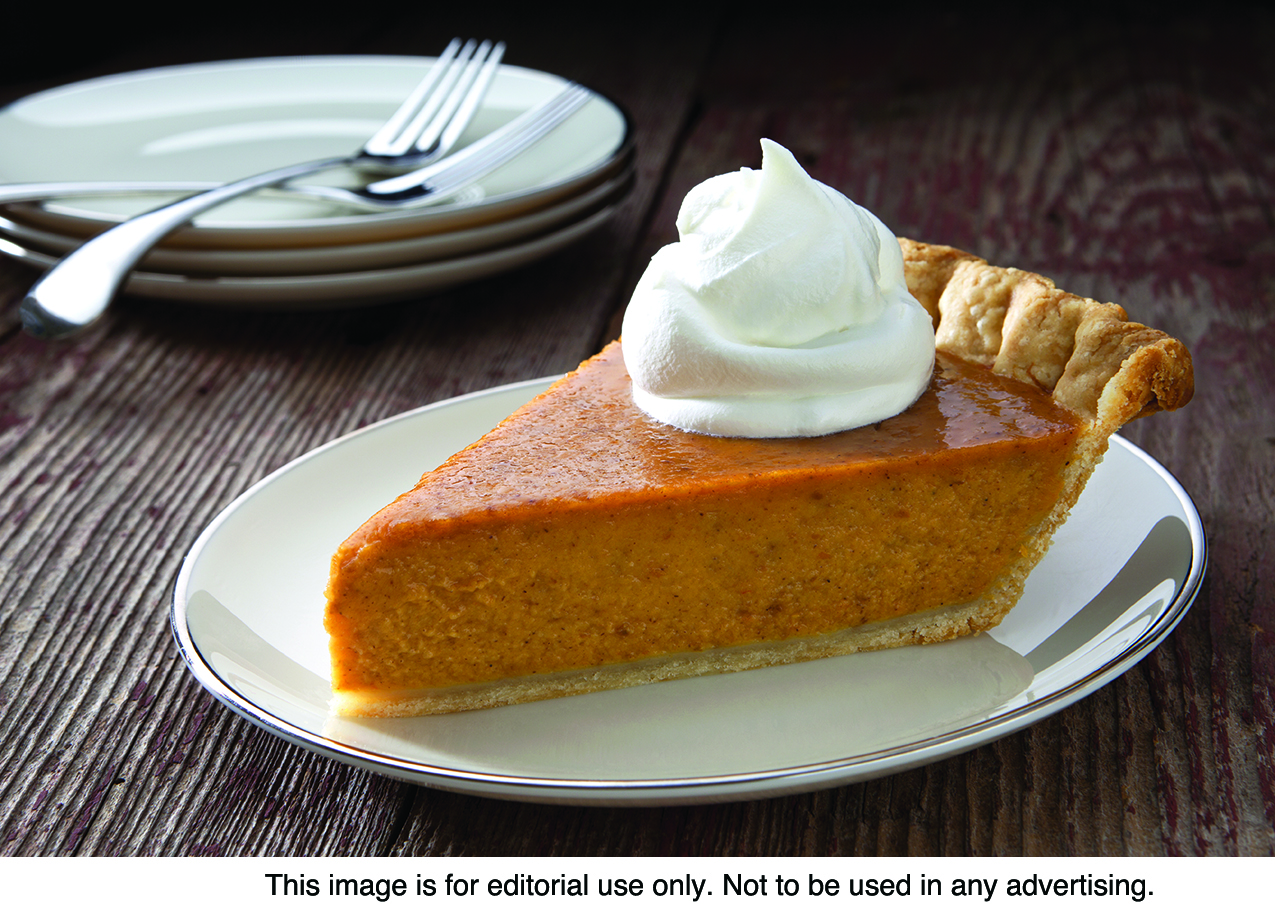
The Best Pumpkins for Pie
[expand title=”View Recipe”]
Beginning in early fall, pumpkins begin to arrive at farmer’s markets, supermarkets, nurseries, and fall harvest festivals. Pumpkins are versatile in that they make colorful fall home decorations, but also can be utilized in all sorts of recipes. In fact, pumpkins are a type of winter squash.
While some people may be quick to think that the larger the pumpkin the better it is for baking up delicious treats, that’s actually not the case. According to the gardening resource Gardener’s Path, although most pumpkin cultivars are edible, the big pumpkins carved into jack-o-lanterns for Halloween tend to be pretty bland, watery and stringy. They’ve been hybridized to produce a large Halloween-friendly shape, not for flavor. Those traits are not ideal for a delicious pumpkin pie or pumpkin chocolate chip oatmeal cookies.
The best pumpkins for purees used in recipes are those that were specially cultivated for cooking. When shopping for pumpkins for your next recipe (if you’re opting for fresh, rather than canned puree), select one of the following:
· Cinderella
· Baby Bear
· Early Sweet Sugar Pie
· Dickinson
· Jarrahdale
· Galeux d’Elsines
· Orange Smoothie
· Small Sugar, among others
Once you’ve selected your perfect cooking pumpkins, it’s time to whip up a pumpkin pie. Enjoy this recipe, courtesy of McCormick, which can be served anytime from Halloween through Christmas.
Classic Pumpkin Pie
Serves 8
Pastry for 9-inch pie crust
2 eggs, well beaten
1/2 cup firmly packed brown sugar
2 teaspoons McCormick® Pumpkin Pie Spice
1 tablespoon flour
1/2 teaspoon salt
1 can (15 ounces) pumpkin (or equivalent in fresh puree)
1 teaspoon McCormick® All Natural Pure Vanilla Extract
1 can (12 ounces) evaporated milk
Preheat oven to 425 F. Line 9-inch pie plate with pie crust.
Mix eggs, brown sugar, pumpkin pie spice, flour, and salt in medium bowl until smooth. Stir in pumpkin and vanilla. Gradually add evaporated milk, mixing well. Pour into pie crust.
Bake 15 minutes. Reduce oven temperature to 350 F. Bake 40 minutes longer or until knife inserted in center comes out clean.
Serve warm or cold. Garnish with whipped cream and sprinkle with additional pumpkin pie spice, if desired. Store covered in refrigerator. [/expand]
Delicious!
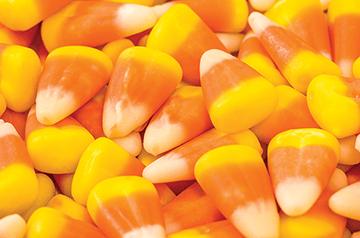
Halloween Candy Bark
[expand title=”View Recipe”]
Use candy-making chocolate that may need to be tempered and poured, or melt down chocolate bars and chips. This is best done over simmering water. Candy corn can be mixed with other ingredients and put into chocolate to make a delicious Halloween candy bark. While the chocolate is still tacky, add the desired bark ingredients.
[/expand]
Try something different!
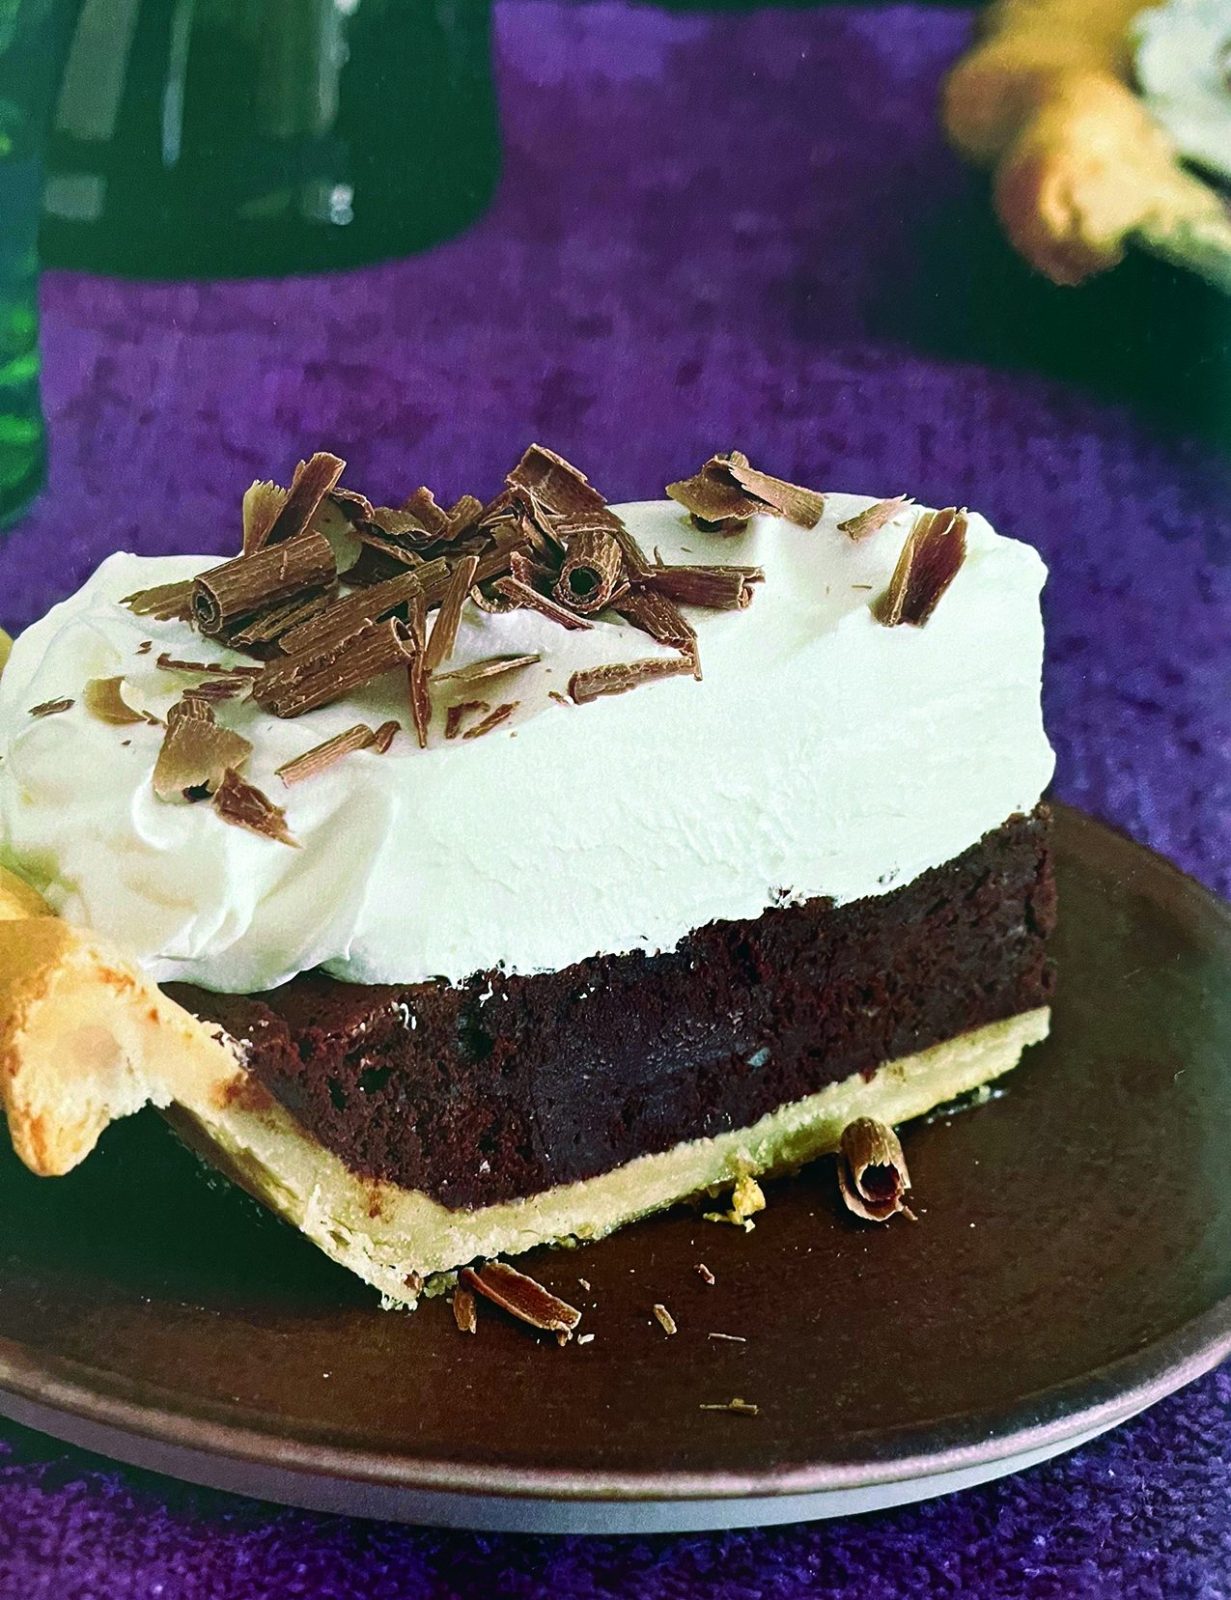
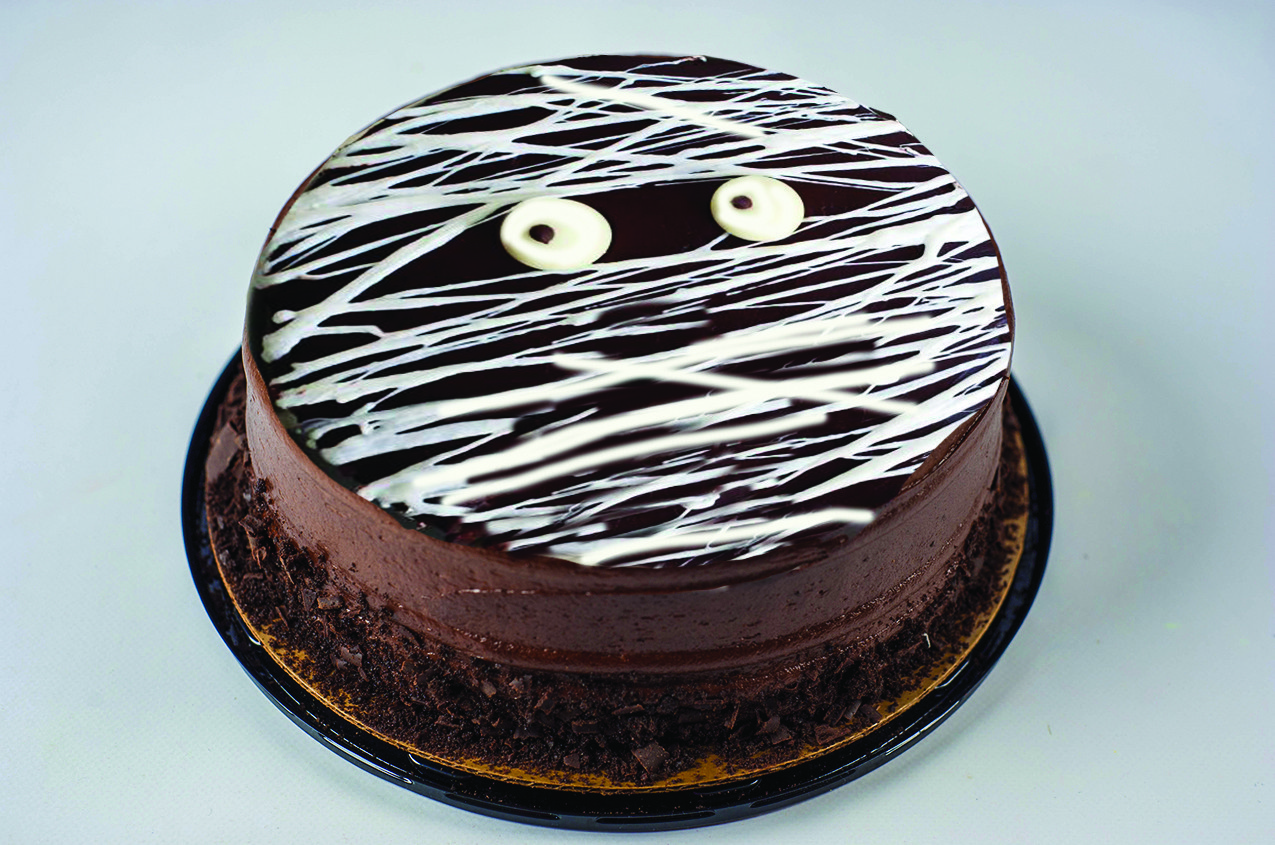
A Magical Dessert for Halloween Gatherings
[expand title=”View Recipe”]
Sweet treats are on display come Halloween. People hosting Halloween parties or bringing items over to others’ homes for the holiday may need to scare up some new ideas for dessert.
Chocolate never goes out of style and is right at home on Halloween. This recipe for “Black Magic Cake,” courtesy of The Food Network, is decadently rich. Don’t let all that chocolate frighten you. Drizzle as much melted marshmallow as necessary to brighten up the flavor. Turn into a mummy face or transform the top of the cake into a spiderweb instead.
Black Magic Cake
8 to 10 servings
2/3 cup vegetable oil, plus more for greasing the baking pans
1 cup Dutch-process cocoa powder (or any cocoa powder if on hand)
1 cup boiling water
2 cups granulated sugar
13/4 cups all-purpose flour (see cook’s note)
2 teaspoons baking powder
1 teaspoon fine salt
1 cup whole milk
2 large eggs
1 tablespoon pure vanilla extract
Filling and Frosting:
11/2 cups heavy cream
3/4 cup Dutch-process cocoa powder, sifted
8 ounces semisweet chocolate, chopped
1 teaspoon espresso powder
1 teaspoon pure vanilla extract
Pinch fine salt
2 tablespoons unsalted butter
1/3 cup confectioners’ sugar, sifted
Decoration:
2 cups mini marshmallows (about 4 ounces)
Cooking spray
1 or more candy spiders or two candy eyes for decorating
For the cake: Position an oven rack in the center of the oven and preheat to 350 F. Line the bottom of two 9-inch round cake pans with parchment and crease the parchment and the sides of the pans with oil.
Stir together the cocoa powder and boiling water in a small bowl and let sit to bloom for 5 minutes (this step intensifies the chocolate flavor in the cake).
Whisk together the granulated sugar, flour, baking powder and salt in a large bowl. Whisk together the bloomed cocoa, oil, milk, eggs, and vanilla in a medium bowl. Pour the cocoa mixture into the sugar mixture and stir until smooth (the batter will be thin). Divide the batter evenly between the prepared cake pans. Bake until the cakes bounce back when pressed in the middle and a toothpick inserted in the center comes out clean, 30 to 40 minutes. Let cool completely in the pans on a rack.
For the filling and frosting: Heat the cream in a double boiler over low heat, whisking occasionally, until it begins to steam. Whisk in the cocoa powder, chocolate, espresso powder, vanilla, and salt until the mixture is smooth, about 2 minutes. Whisk in the butter until melted. Whisk in the confectioners’ sugar until incorporated. Let the frosting cool completely.
To assemble: Put one cake, bottom-side up, on a serving plate or cake stand. Spread about 1 cup of the frosting over the top but not all the way down the side. Top with the other cake, bottom-side up, and frost the top and sides with the remaining frosting.
For the spider web or mummy decoration: Microwave the marshmallows in a microwave-safe medium bowl until they swell and are soft enough to stir, about 1 minute. Let sit a few minutes until cool enough to touch. Spray your hands with cooking spray. For a spider web, pick up a tablespoon-sized blob of the melted marshmallow and stretch it over and around the cake; repeat so that the strings of marshmallow crisscross one another in many directions. Continue until you have what looks like a spiderweb. For a mummy, stretch the marshmallow so that all the strings on the top of the cake run in the same direction, leaving a small gap between strings for the mummy’s eyes to peak out. Garnish with a candy spider or several candy spiders for the web cake or candy eyes for the mummy cake.
Cook’s note: The candy directions are a nice touch, but the cake will be fun and delicious without them as well. When measuring flour, spoon it into a dry measuring cup and level off the excess.
Semi-homemade tip: Purchase a premade chocolate cake and use the decoration to make the mummy or spiderweb only.
[/expand]
Try something different!
Chocolate Chip Cookie Bacon S’mores
[expand title=”View Recipe”]
Yields 12
12 thick-cut slices bacon (hickory smoked, Applewood smoked or maple)
12 large marshmallows
12 2-inch squares chocolate good quality
12 skewers
12 tablespoons butter, softened
3/4 cup brown sugar
1/4 cup sugar
2 teaspoons vanilla
1 egg plus 1 egg yolk
2 cups flour
1 3.4-ounce box instant French vanilla pudding mix, dry, not prepared
1 teaspoon baking soda
1/2 teaspoon salt
2 cups semi-sweet chocolate chips
Make the cookies: In a bowl, cream together butter, sugar and brown sugar for 1 to 2 minutes until light and very fluffy. Add vanilla, egg and egg yolk, and mix well. In a separate bowl, whisk together flour, pudding mix, baking soda, and salt.
Add dry ingredients to wet ingredients and mix until incorporated and dough comes together. Stir in chocolate chips. Cover very tightly and chill for at least 1 hour.
Preheat oven to 350 F. Roll dough into balls (about 1 1/2 inch) and space 2 to 3 inches apart on a baking sheet. Bake for 10 to 12 minutes, until lightly browned on top. Allow to cool 5 to 10 minutes on baking sheet before transferring to a cooling rack to cool completely.
To grill the bacon: Heat a grill to medium-high heat. Thread bacon onto skewers in an S-shape. Place skewers directly on grill and cook 8 to 12 minutes, rotating as needed to ensure even cooking. Transfer to a plate, let cool and then remove bacon from skewers. Set aside.
Meanwhile, roast the marshmallows: Roast marshmallows directly over the grill using skewers or roasting sticks until cooked to your preference.
Assemble s’mores: Flip one cookie over so it’s upside down. Place a square of chocolate on top of the upside-down cookie, then top with grilled marshmallow, bacon and a right side-up second cookie. Serve immediately.
[/expand]


